
In my last article, I’ve introduced how to create EC2 instance. In this article, let’s access EC2 instance from the Internet.
- Web site can be accessed on the Internet with FQDN
- Basic LAMP environment (Linux, Apache, PHP, MySQL)
- No redundant configuration and backup
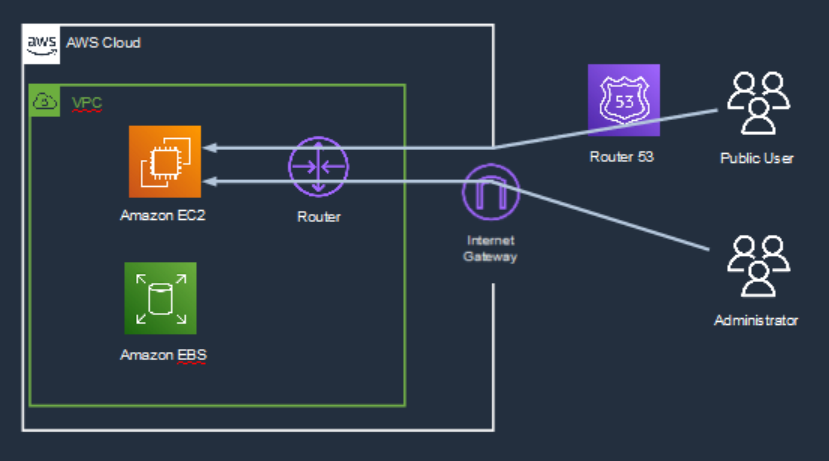
System Configuration diagram is as below. Public Users access Web site through Route53 with FQDN. On the other hand, Administrator access to Web site via Internet Gateway.
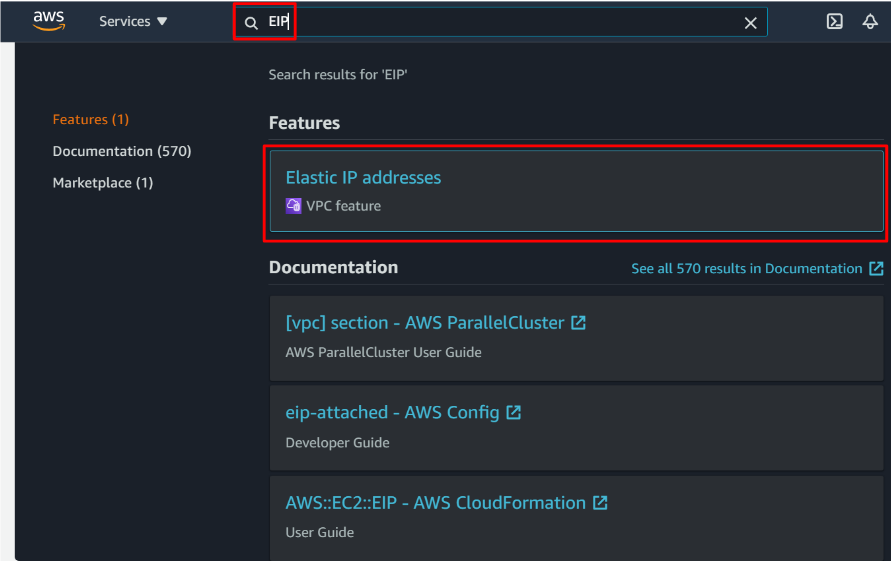
To access web site, IP address which can be accessed by Internet needs to be set to EC2 instance. In AWS, it is called Elastic IP address.
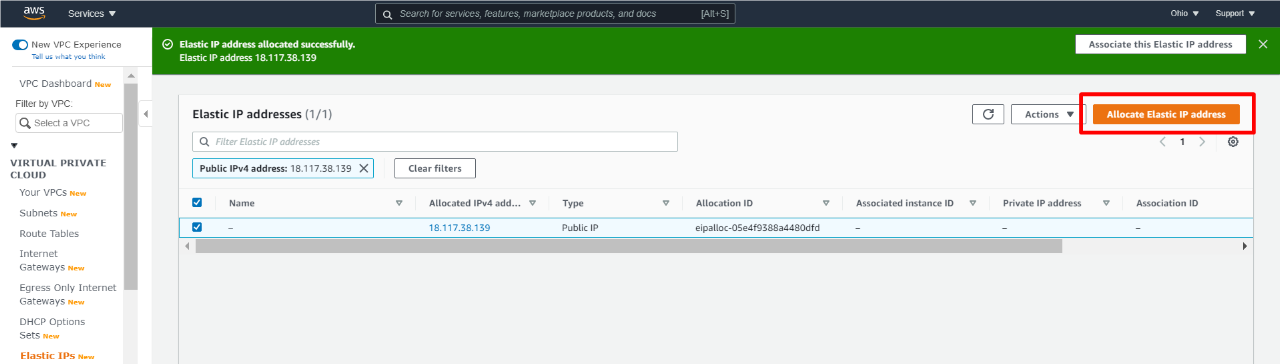
In the management console, search “Elastic IP addresses” tab and click it.
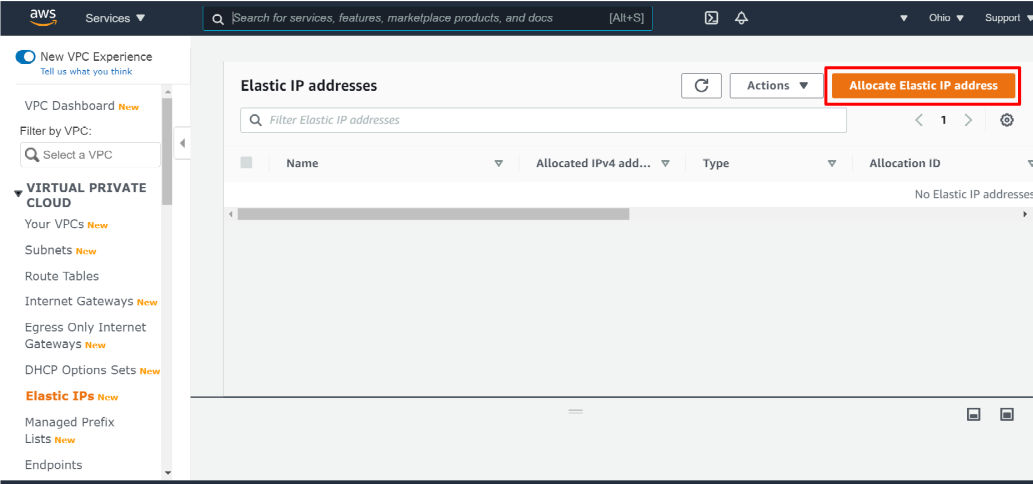
Then, click “Allocate Elastic IP address”.
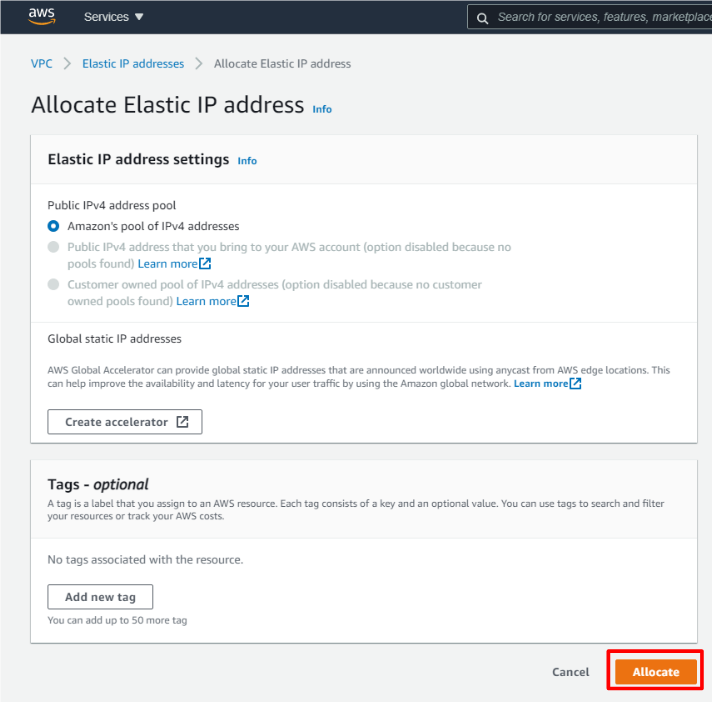
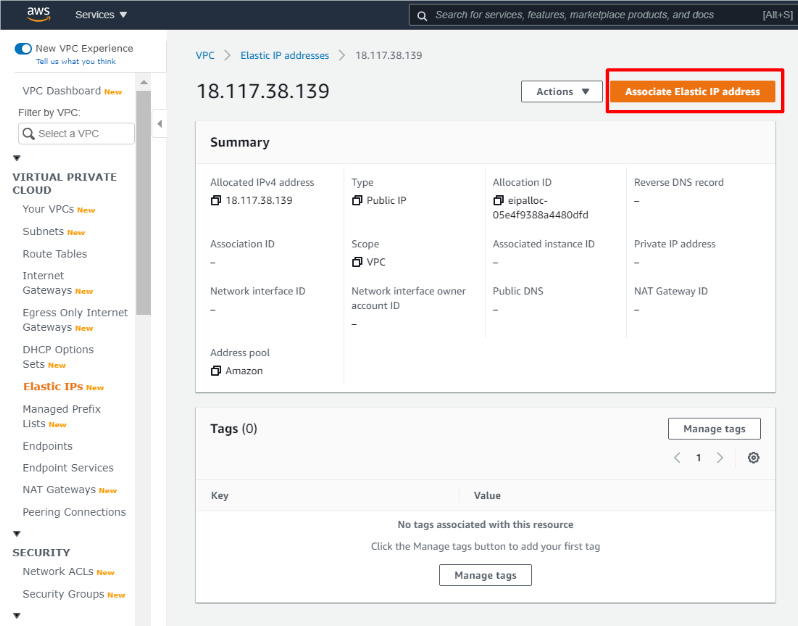
And, click “Allocate”.
And, click “Associate Elastic IP address”.
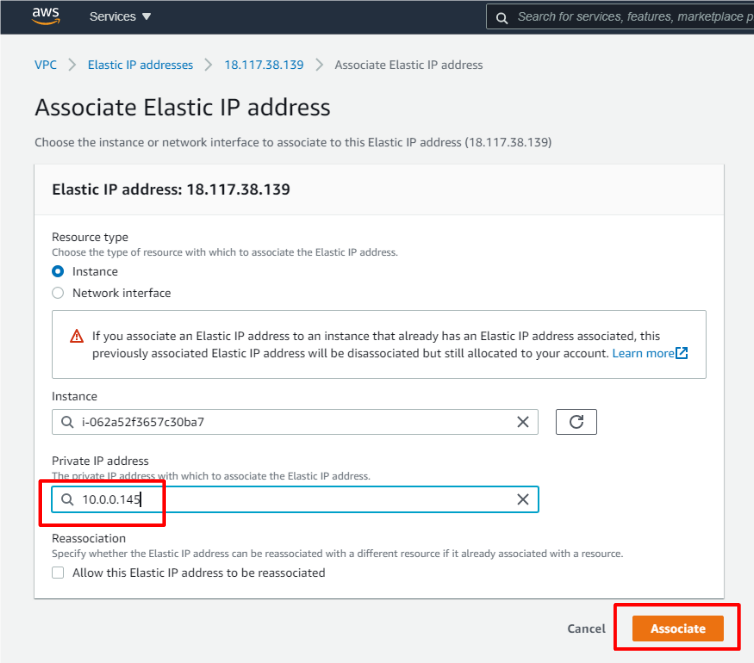
Select your instance and private IP address.
And click “Associate”.
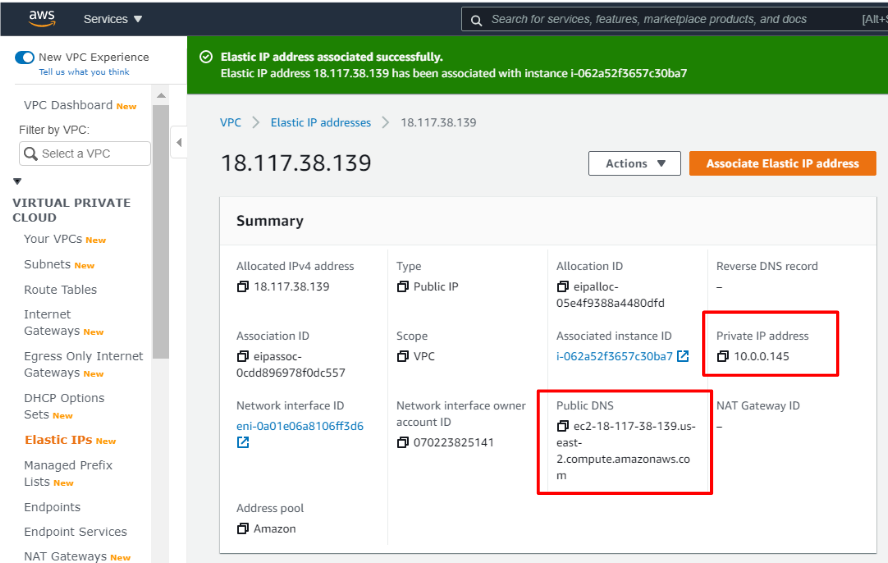
OK. You can see public IP address and Public DNS were assigned.
After creating EC2 instance, let’s access the server. For now, the EC2 instance cannot be accessed from Internet because it does not have global IP address and FQDN. You need to designate fixed global IP address called Elastic IP address (EIP).
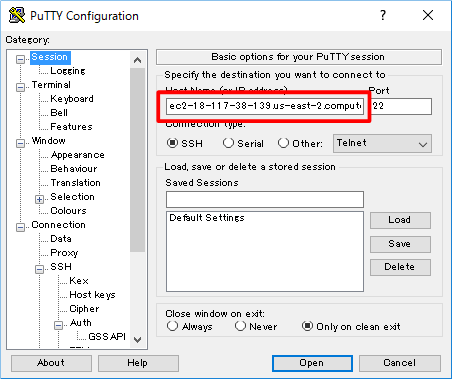
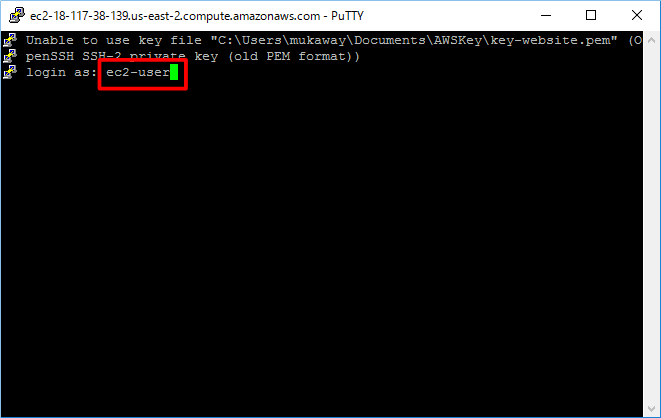
Launch PuTTY application for example, and input “Public DNS” associated with Elastic IP address.
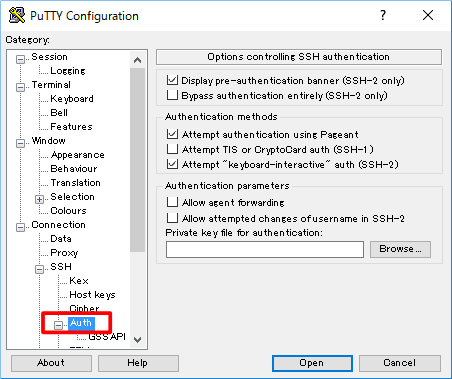
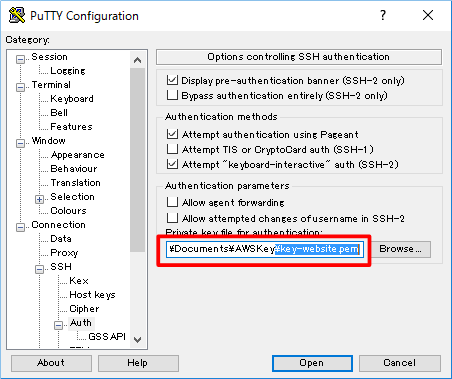
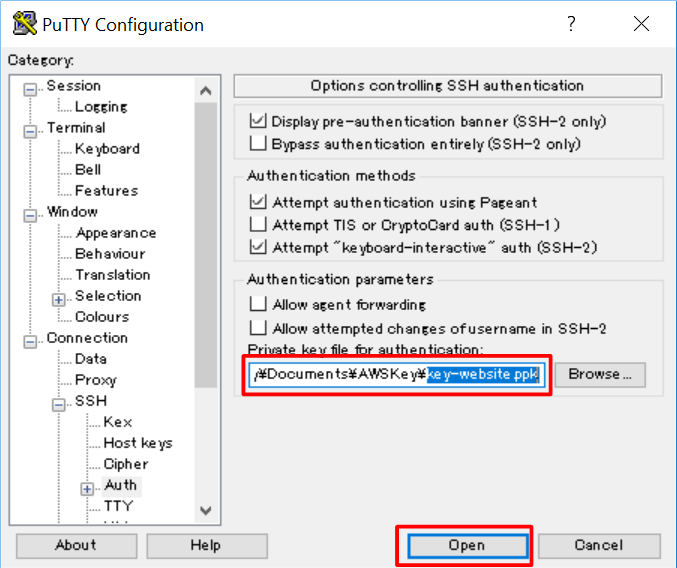
And private key needs to be set in “Auth” tab.
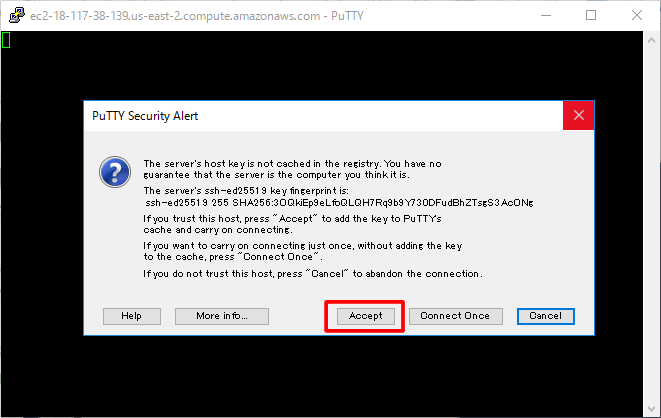
At the time of first access, security alert is displayed. Please accept it.
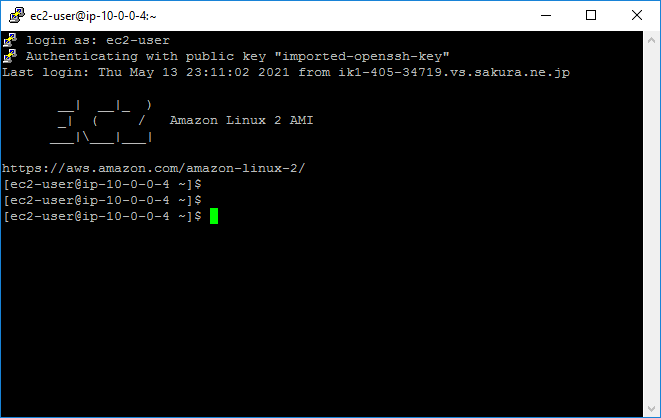
And, set user name in the terminal. For Linux AMI OS, “ec2-user” is created as a default user.
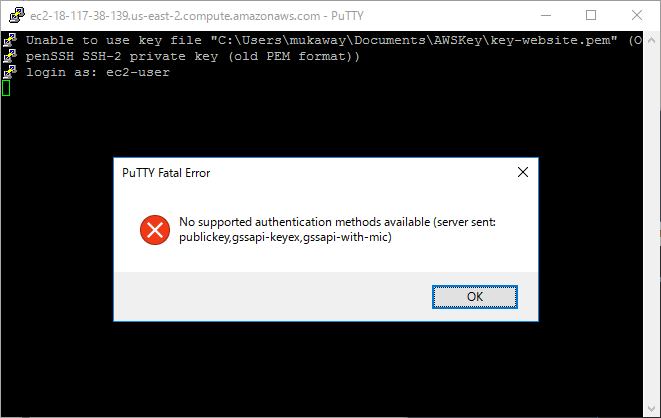
However, a fatal error message was displayed…
For PuTTY, private key format needs to be changed.
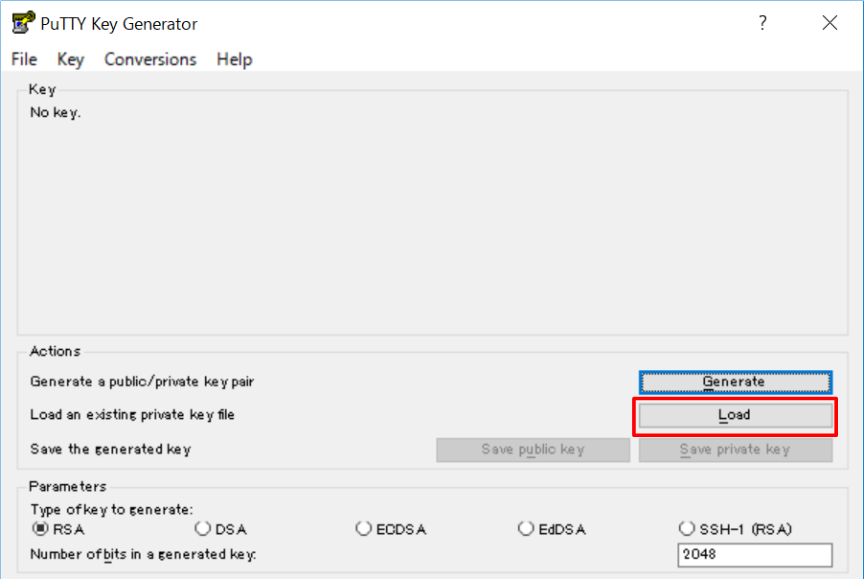
Launch PuTTYgen application to change format of private key.

And, Load the private key of pem format.
And click “OK”.
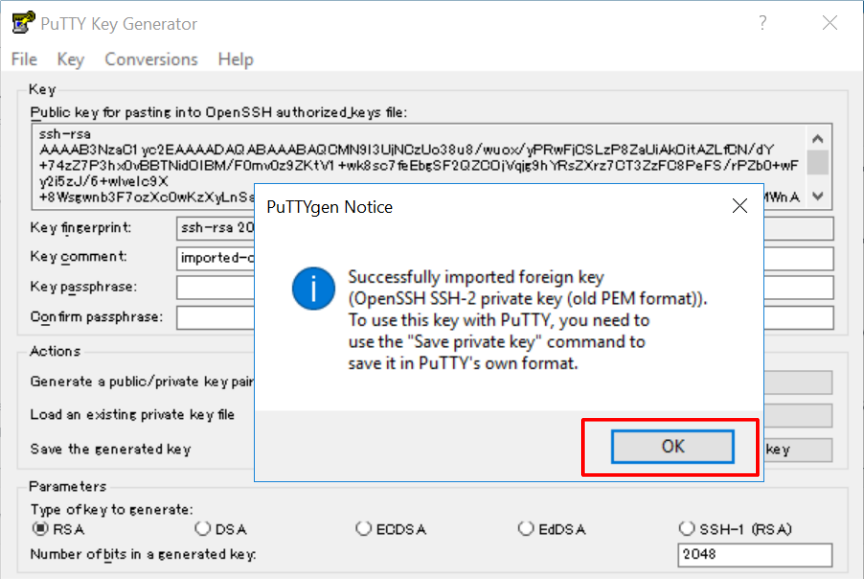
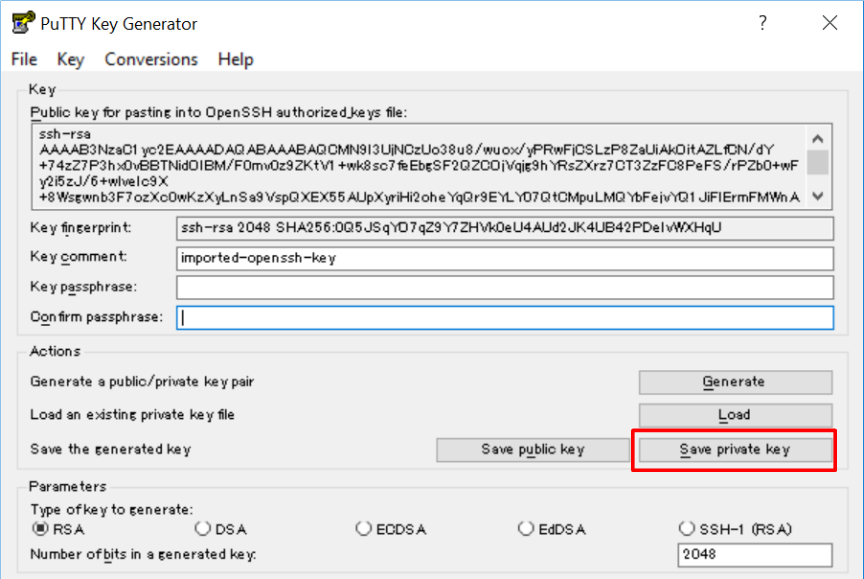
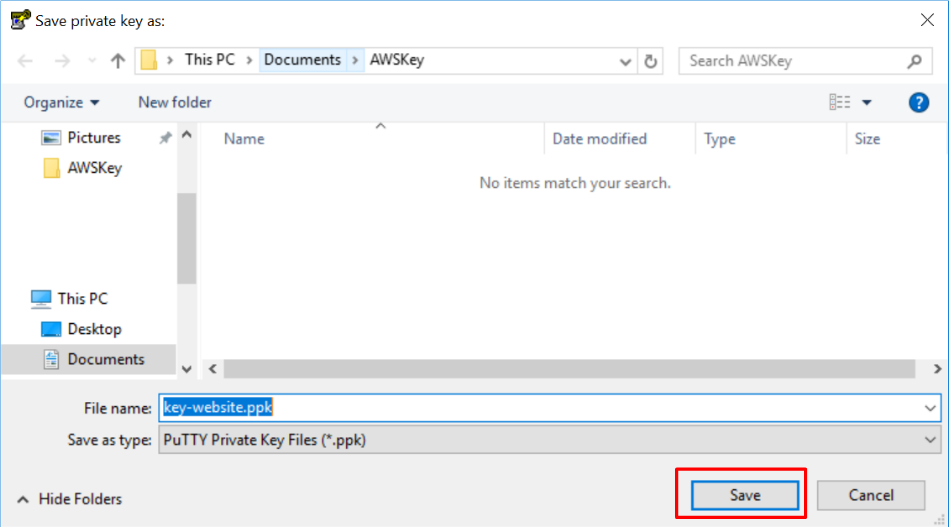
And, click “Save private key”.
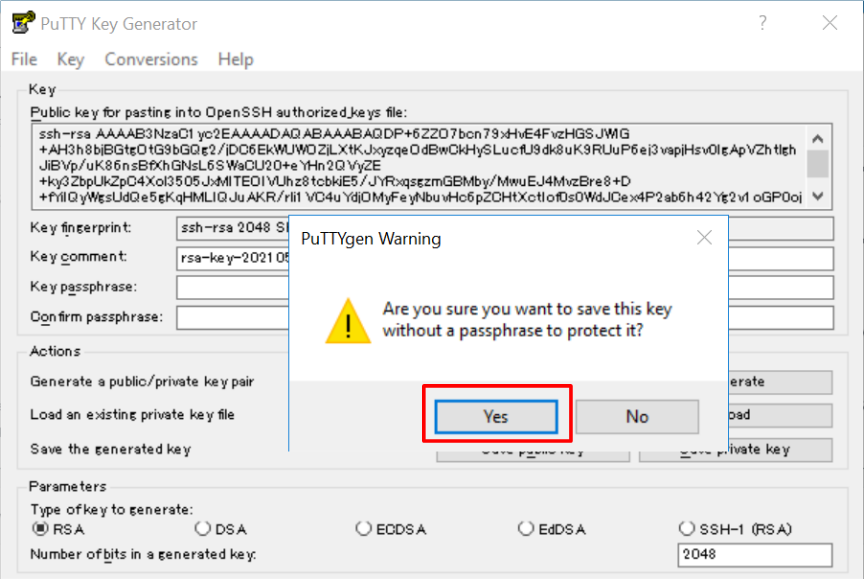
If you want to set a passphrase, you can input it.
But I skip it in this time.
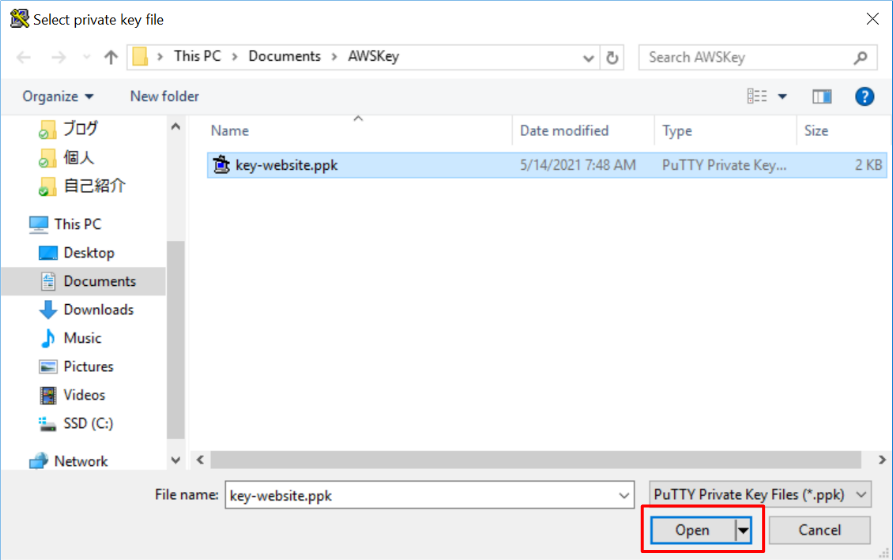
After saving the private key of ppk format, designate it in “Auth” tab setting.
Finally, you successfully accessed to EC2 instance !!

コメント