
In this article, let me explain how to setup Amazon Aurora resource.
Aurora is fully managed Database service by Amazon RDS and has high performance, fault-tolerant function.
I recommend you to implement it if you develop AWS environment.
Advantages
1. Compatibility with MySQL and PostgreSQL
2. High throughput
– Five times faster than standard MySQL
– Three times faster than standard PostgreSQL
3. High durability
– Replicate data into six through three available zone
– Data will be copied to Amazon S3 continuously
4. Storage auto scaling
– Size of aurora storage will be scaled up to 64TB for each Database instance automatically.
Disadvantages
1. Less compatibility with Database
– Database other than MySQL and PostgreSQL cannot be applied
– Specific MySQL and PostgreSQL version cannot be applied
2. It takes about one minute for DB Failover

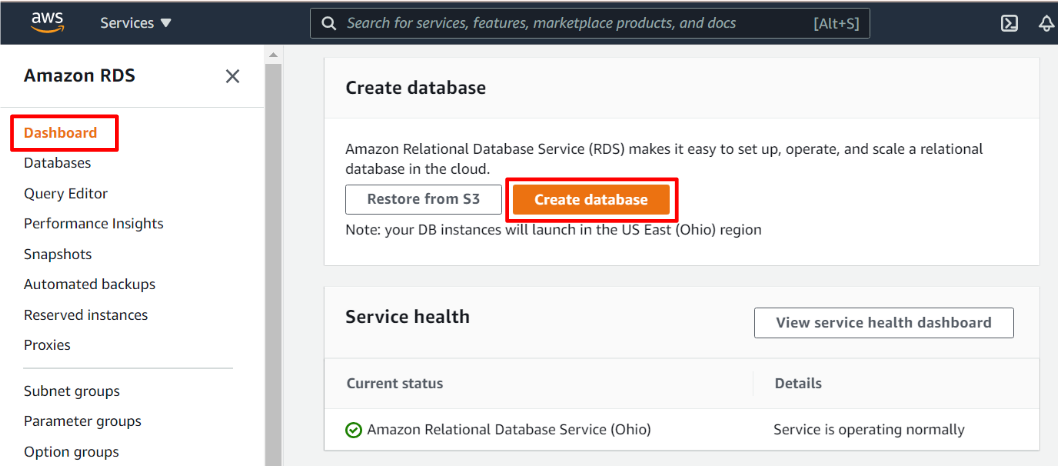
In Dashboard tab in the left pane, click Create database button.
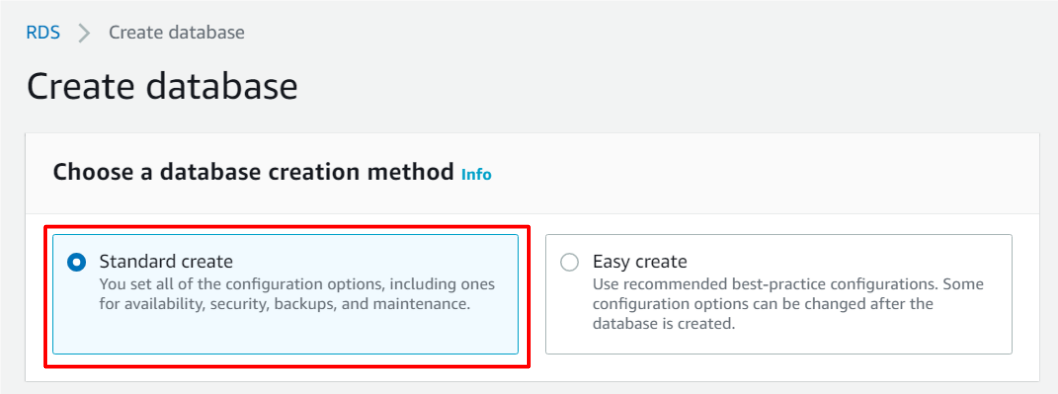
You can choose database creation method, Standard create or Easy create.
I chose Standard create method because I wanted to customize some of setting according to my requirement.
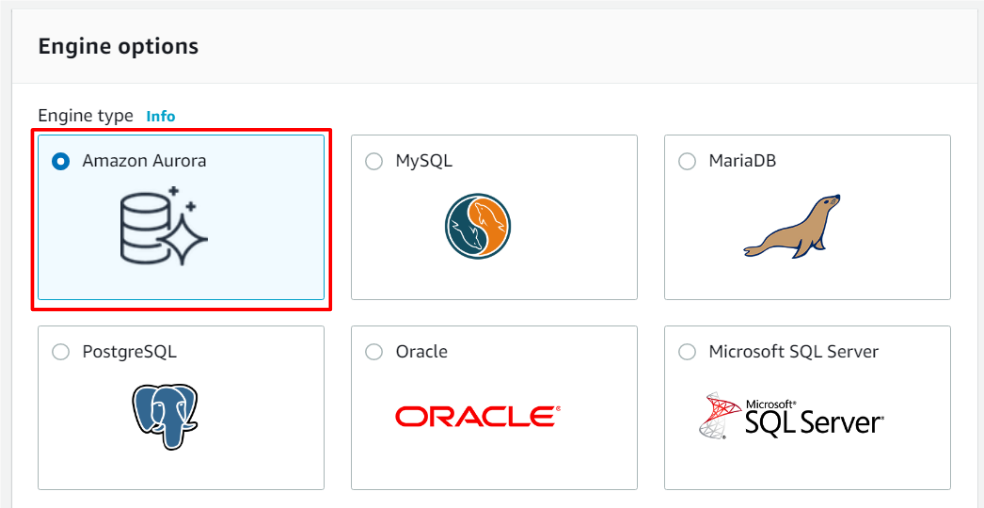
And, choose Amazon Aurora as Engine type.
Next, you can choose Database Edition, MySQL or PostgreSQL.
I chose MySQL-5.6.10a for my environment.
And choose Provisioned as Capacity type because it needs high availability.
If the server can be stopped unpredictable, you can choose Serverless type.

If you are interested in the difference between Provisioned and Serverless, refer to below URL.
https://betterprogramming.pub/is-aurora-serverless-worth-it-3e79eb8f7ad
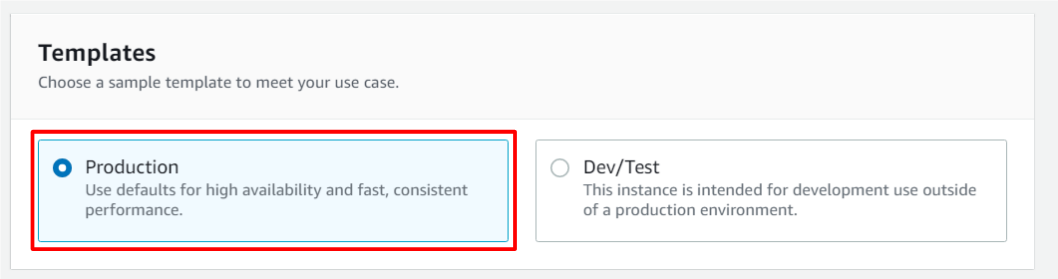
And, Production is selected for high availability.
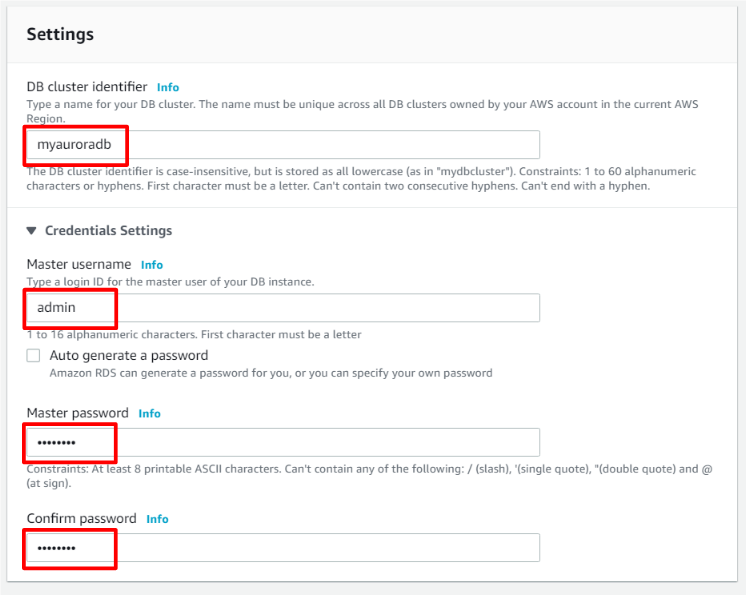
Next, input DB setting, DB cluster identifier, Master username and password as you like.
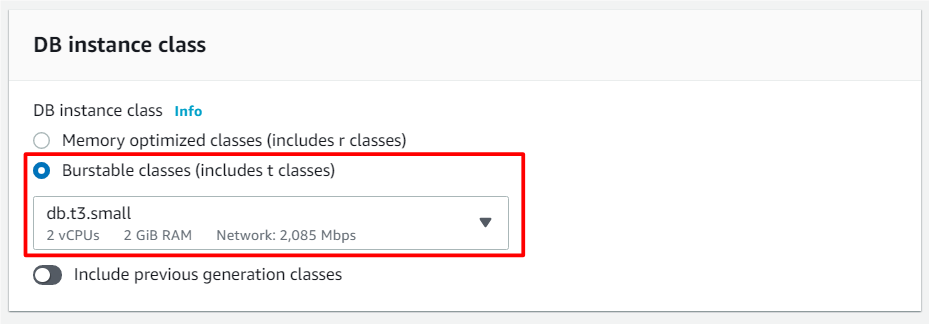
And choose instance type according to your requirement.
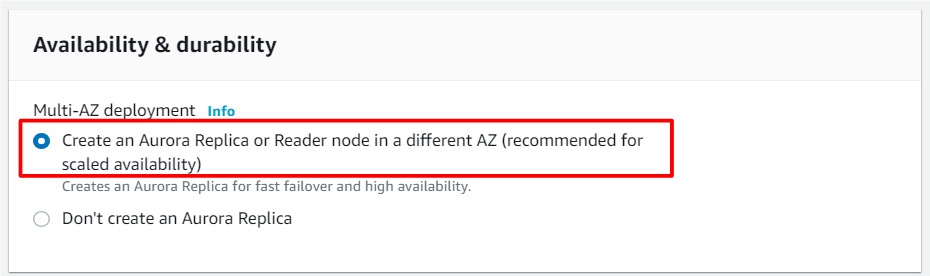
And I chose Multi-AZ deployment for high Availability and durability.
If you apply aurora to your production environment, I recommend you to choose Multi-AZ deployment option.
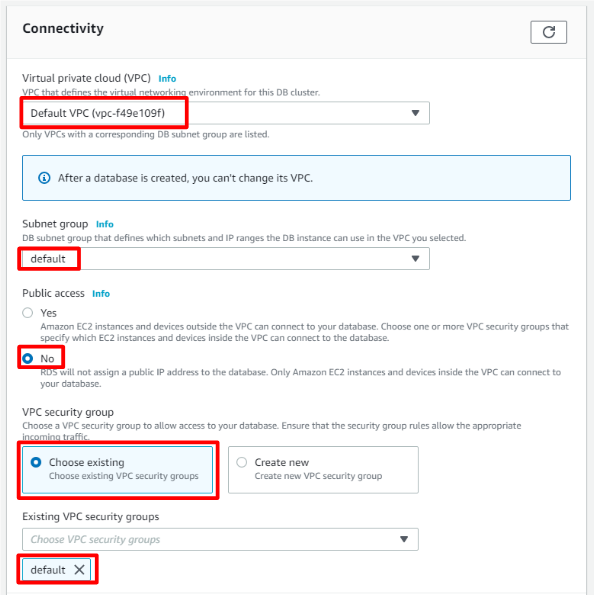
And change connectivity setting.
Basically, you had better choose No option for Public access setting for its security.
And continue additional configuration.
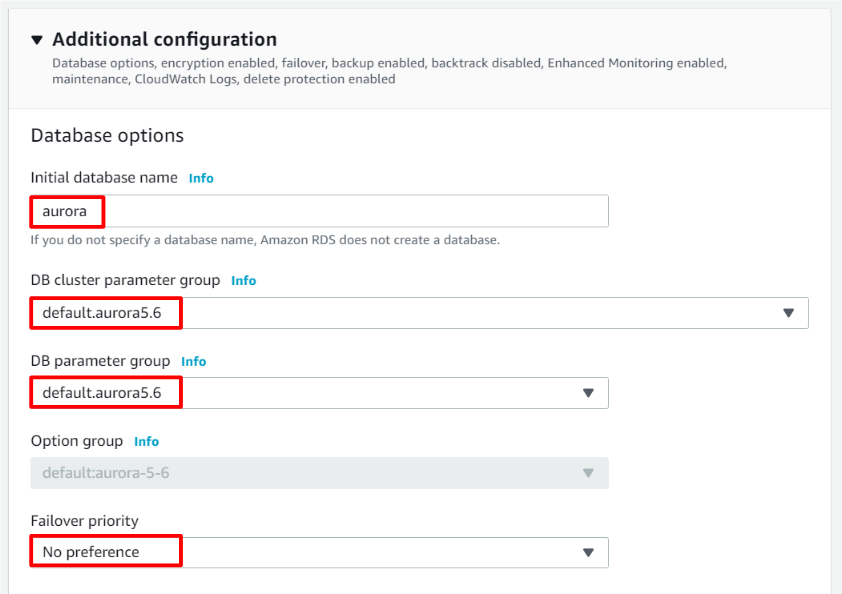
Input initial database name and choose DB cluster parameter group.
If you have any preference for DB failover target, please select Failover priority.
I chose No preference in my case.
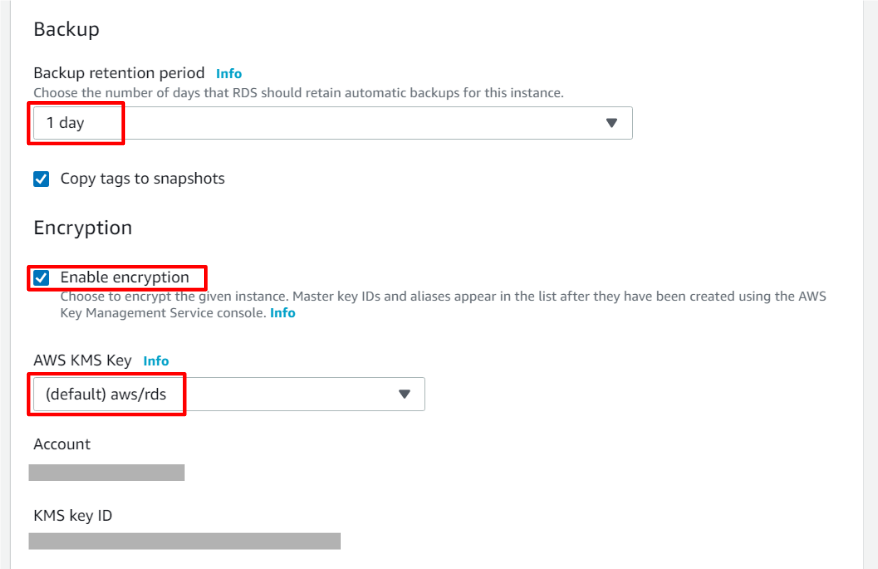
And choose Backup retention period.
Please take care it because the cost depends on the period.
Then, I recommend you to check Enable encryption option.
In Aurora DB, AWS KMS Keys can be used for encryption key.
I designated default KMS key as below.
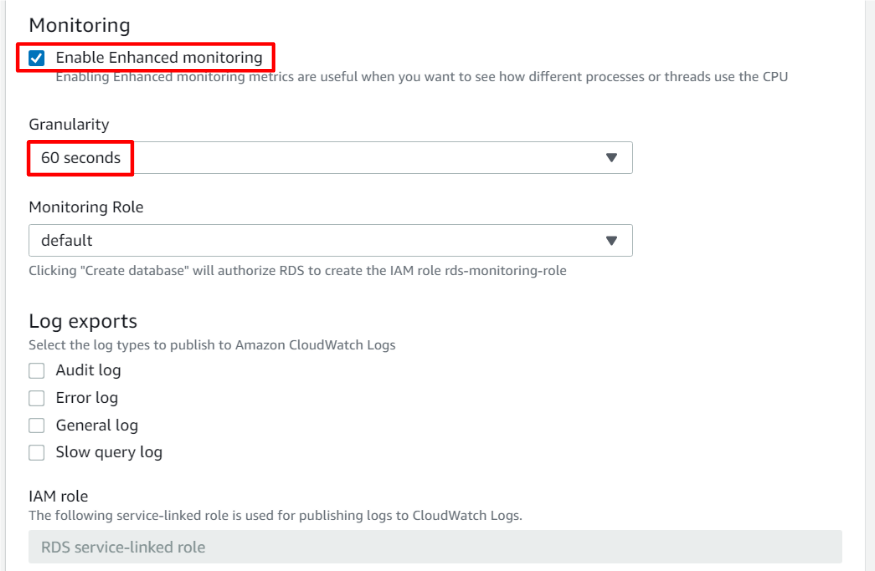
And you had better check Enable Enhanced monitoring option.
I selected 60 seconds for monitoring Granularity.
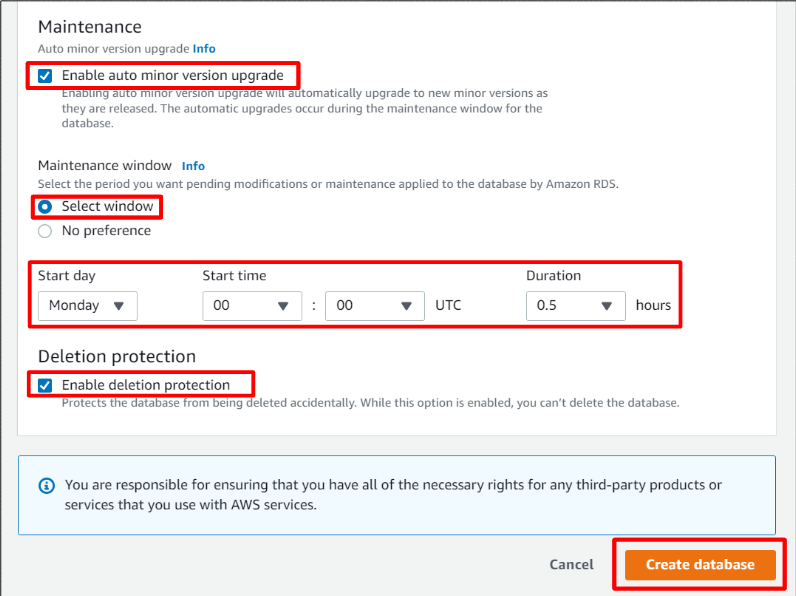
OK, this is final step for aurora creation.
I checked Enable auto minor version upgrade.
If you want to control maintenance schedule to some extent, please choose Select window option and input the schedule according to your requirement.
And, I recommend you to check Enable deletion protection option not to be deleted mistakenly.
Then, click Create database button.
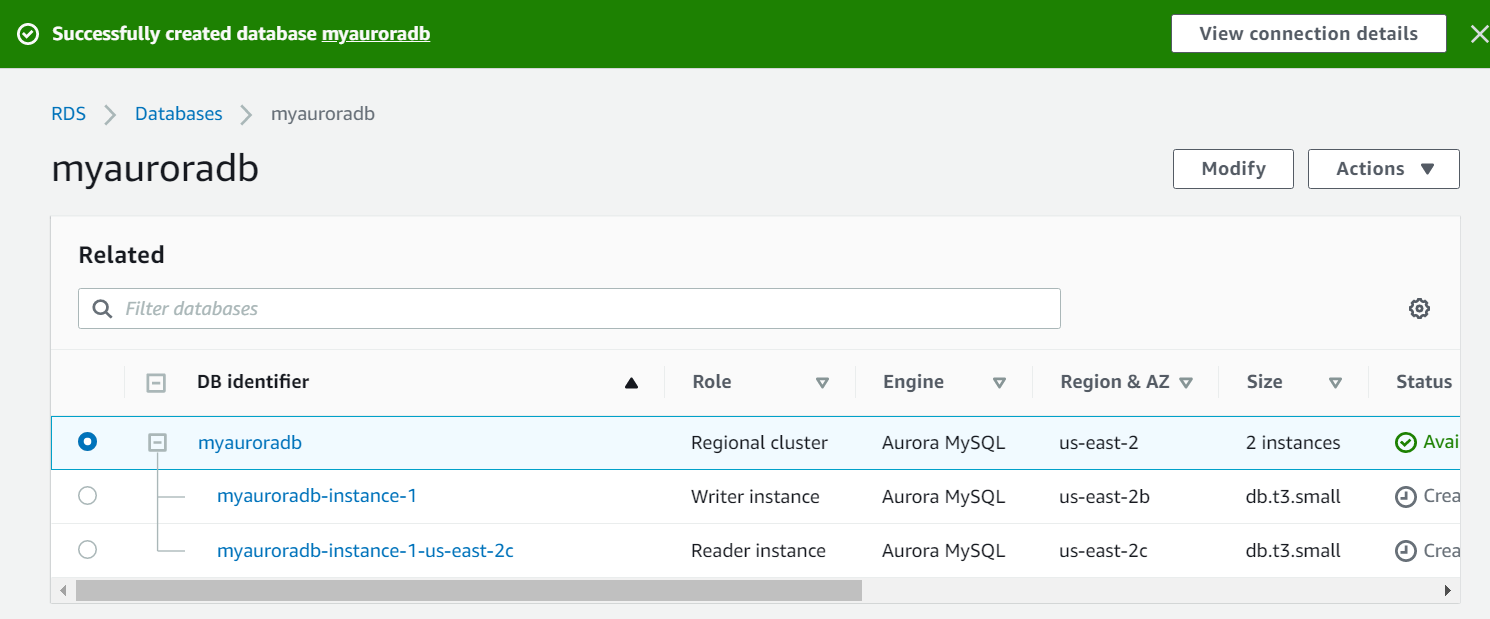
After several minutes, Aurora DB cluster will be prepared as below.
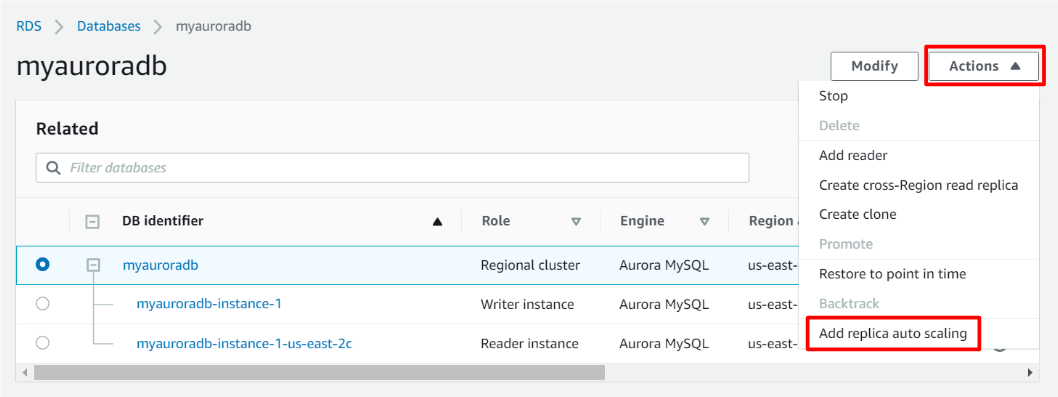
Click Actions tab and choose Add replica auto scaling.
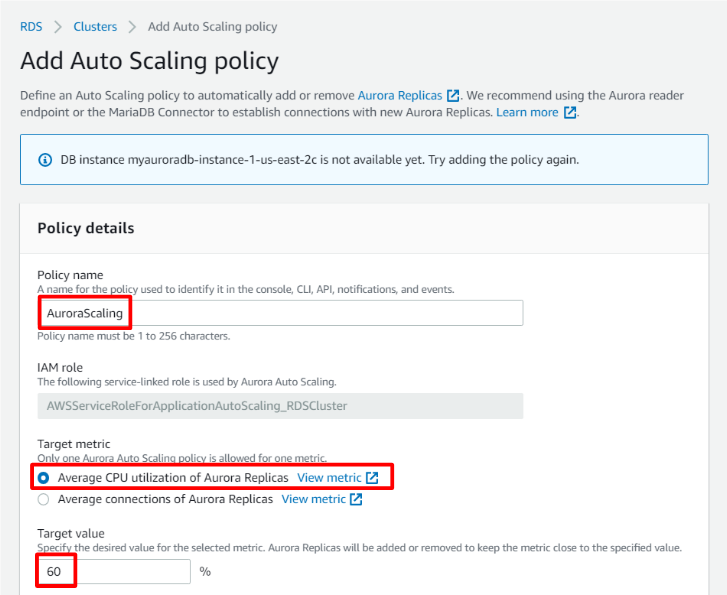
And, write down Policy name as you like.
Then, decide the Target metric.
In my case, Aurora instance will be auto-scaled once CPU utilization exceeds 60%.
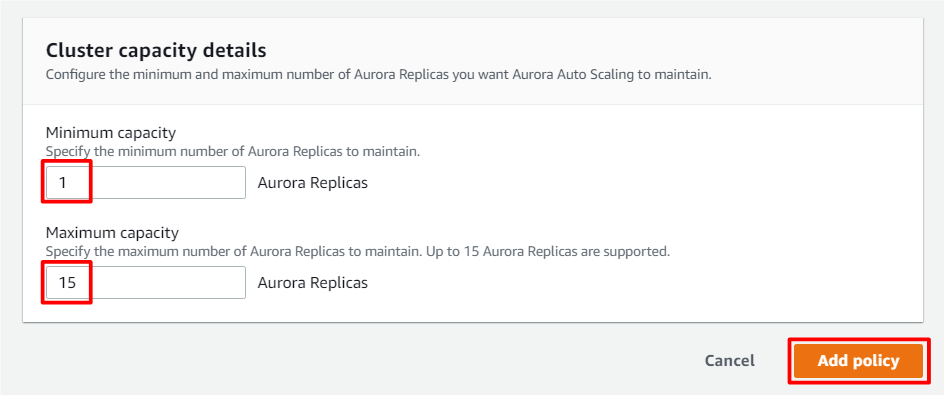
And input Minimum/Maximum capacity and click Add policy button.
You can set Maximum value up to 15.
That’s all for Amazon Aurora topic. I hope it would be helpful for your development life. Thank you very much for reading it !!

コメント