
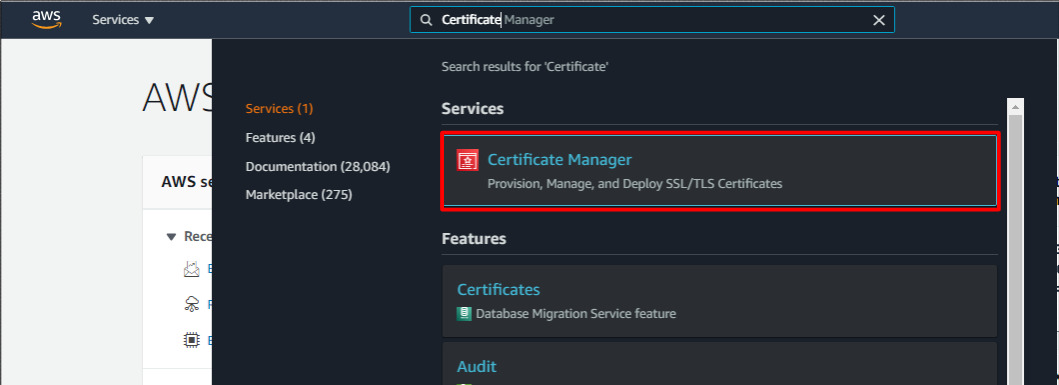
In my previous article, how to associate your domain with AWS Route 53. In this article, I would like to explain how to create SSL Certificate associated with your domain for free by utilizing Certification Manager of AWS. You can create safe website very easily.
- Web site can be accessed on the Internet with FQDN
- Redundant server configuration for incident recovery
- Manual switchover at the time of an incident.
- Can develop additional servers if the web access is increased
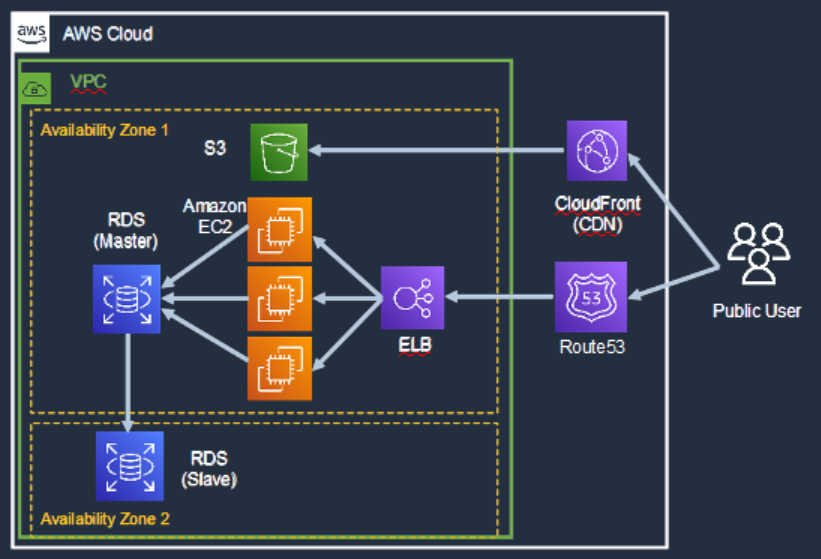
System Configuration diagram is as below. Public Users access EC2 instance through ELB, Elastic Load Balancer. And static contents are provided by S3 through CloudFront.
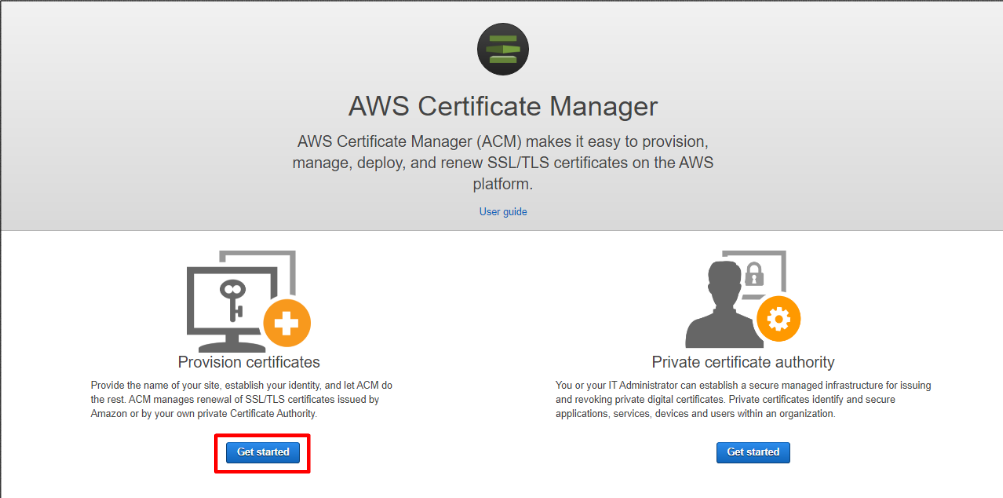
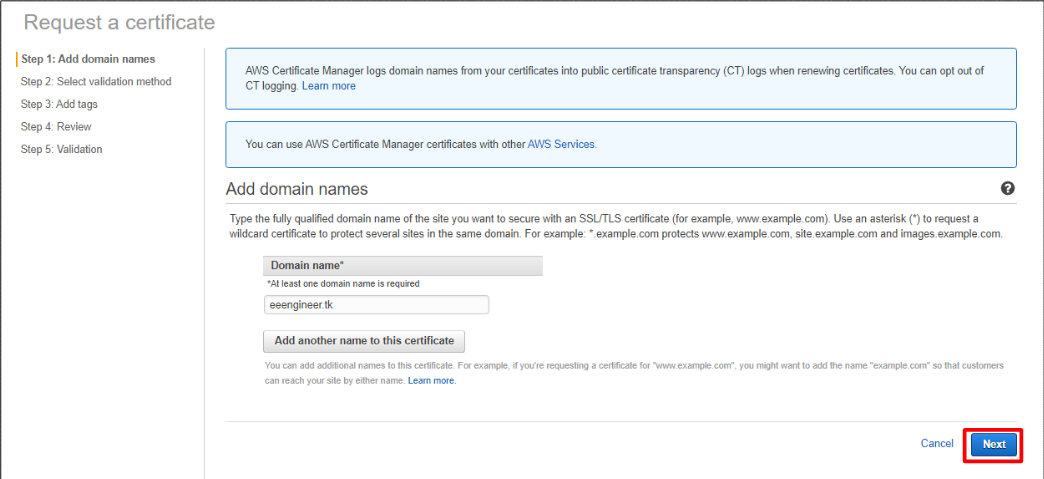
Then, Request public certificate.

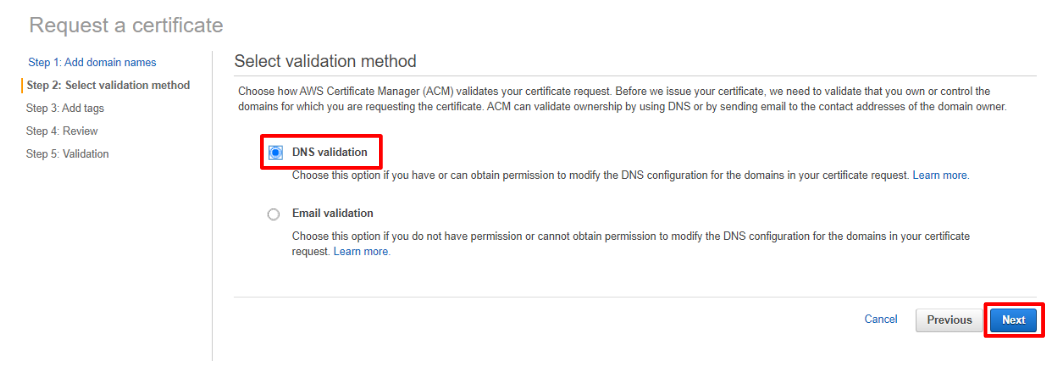
Next, select validation method. In this time, I selected DNS validation and click “Next”.
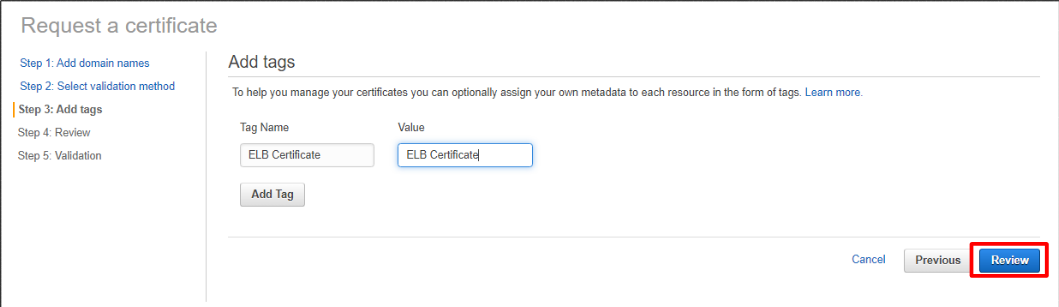
Then, input tag information as you like and click “Review”.
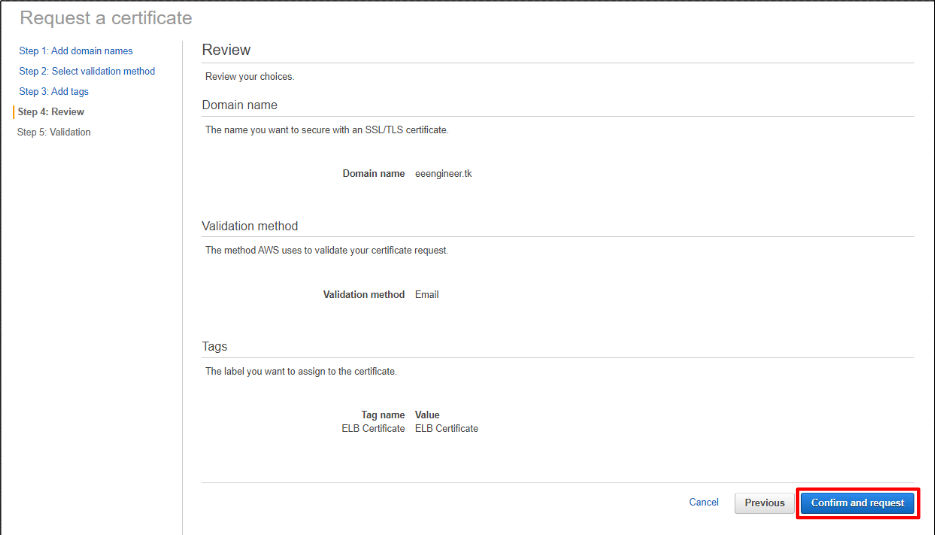
And, click “Confirm and request”.
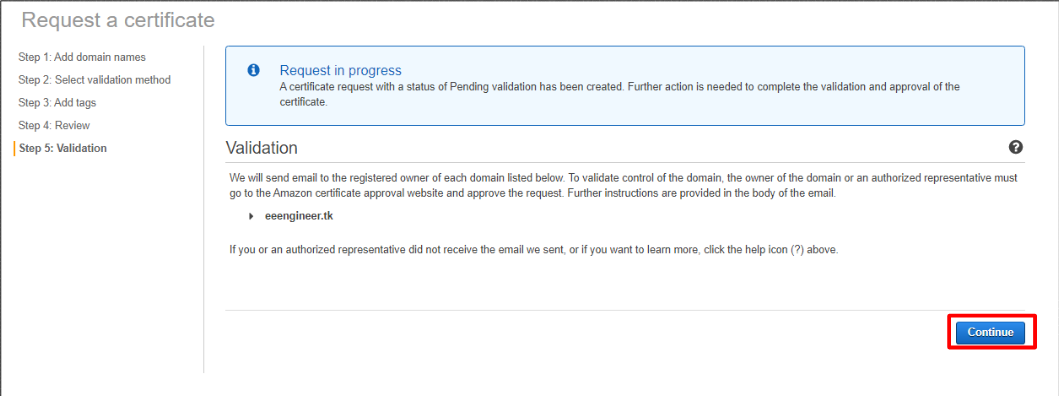
Your domain’s status will be “Pending validation” status. Next, open tab of your domain by clicking below red square.
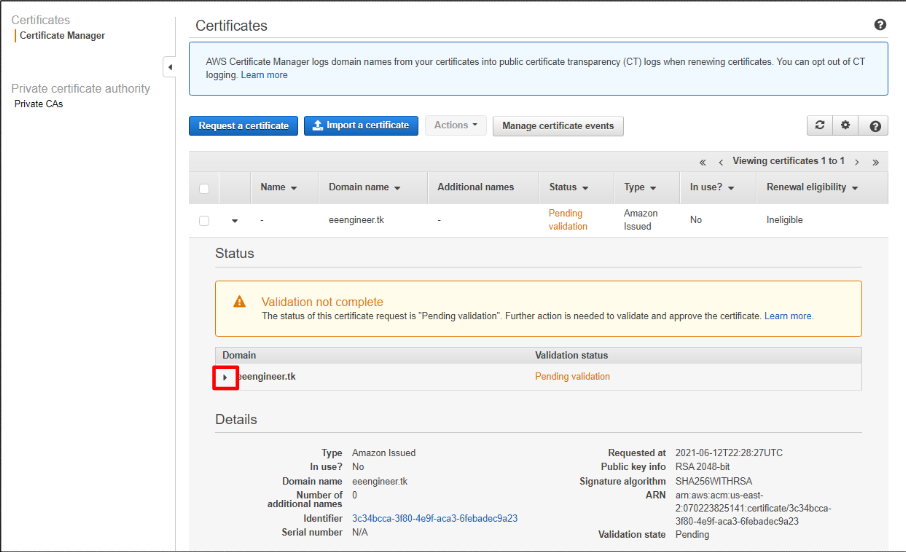
ACM validate your domain ownership by using CNAME record. So, you need to add CNAME record in this phase.
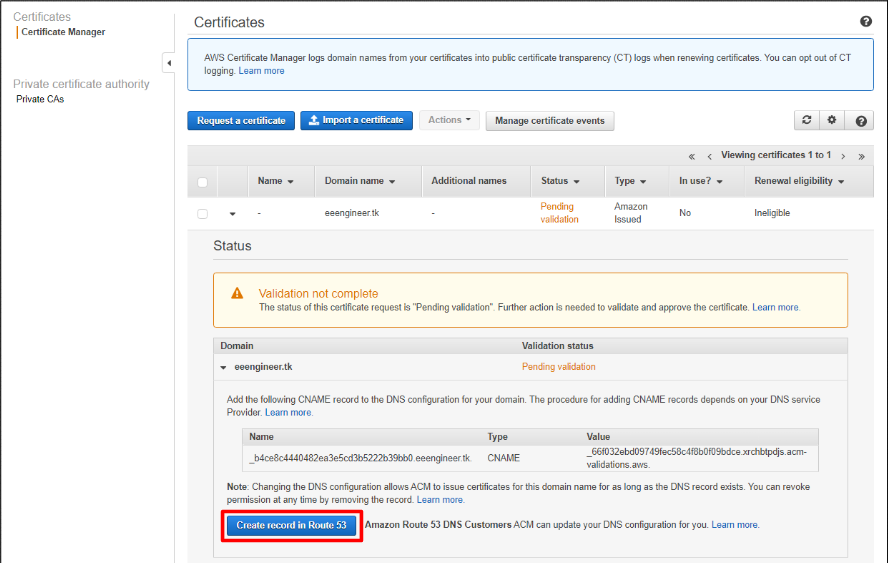
OK, click “Create record in Route 53”.
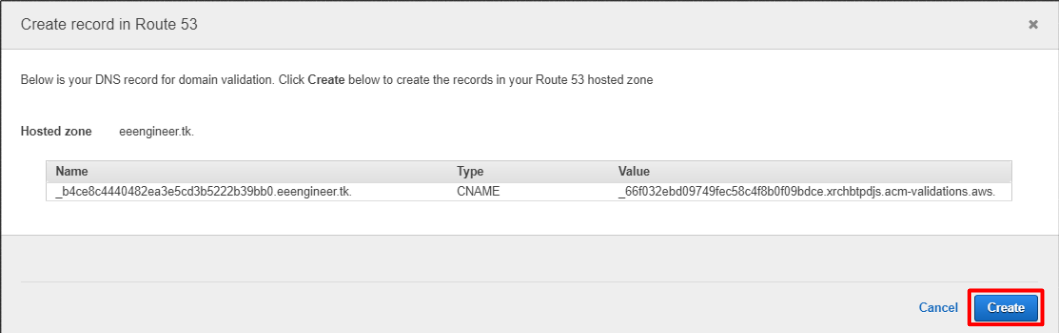
And, create CNAME record by clicking “Create” button.
If you could add CNAME record successfully, Success message will be displayed.
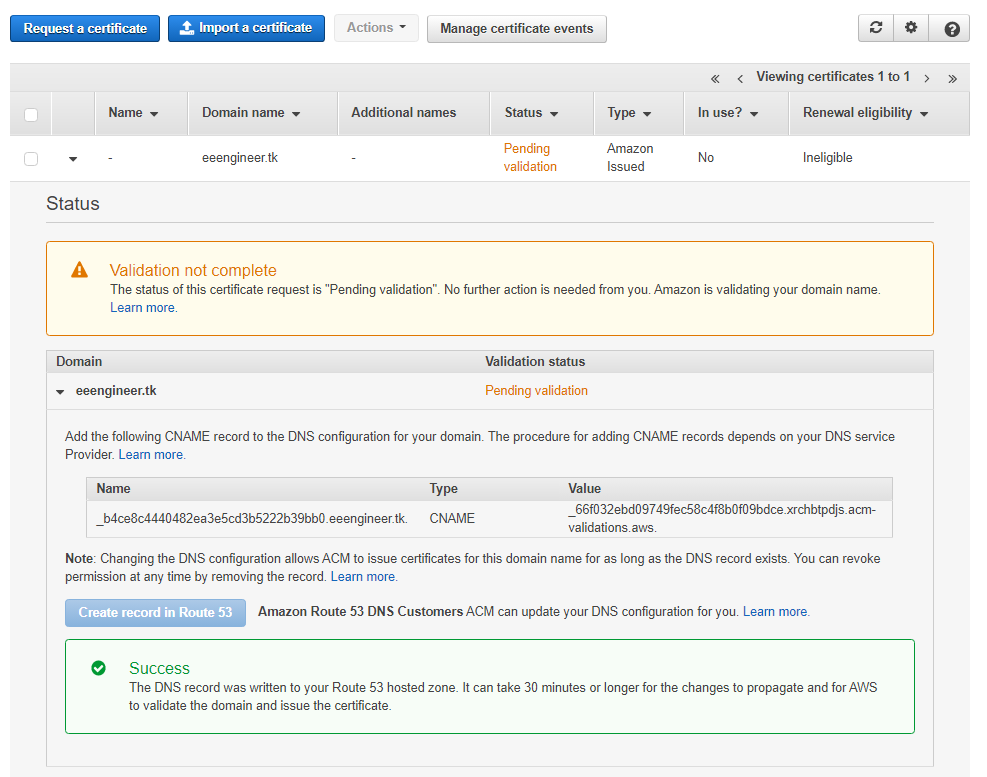
In my case, it took a few minutes until my domain was validated. The status because “Issued” after the validation. If the status is not changed for a long time, please check your setting.

OK. SSL Certificate is created successfully.
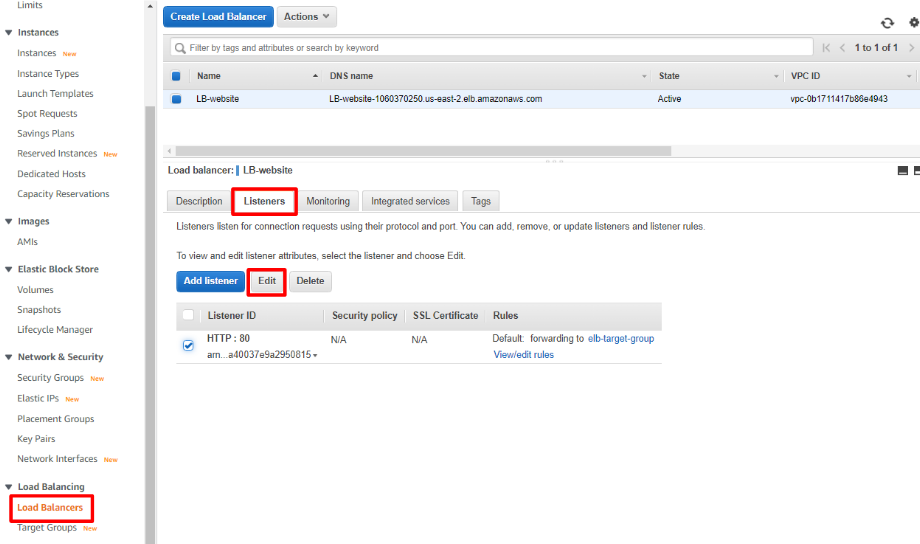
Next, create HTTPS listener for your ELB by editing Listener setting as below.
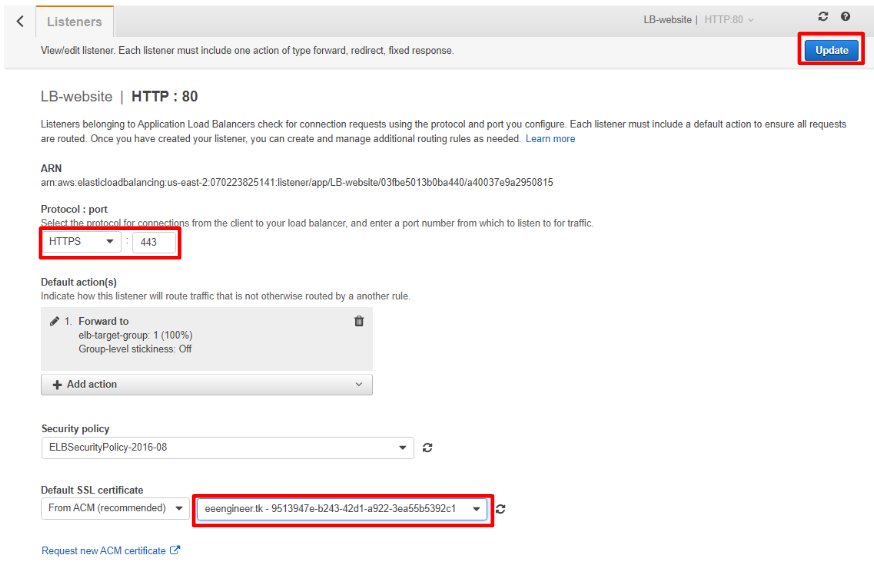
I’ve changed HTTP listener to HTTPS listener with port 443 and designate SSL certificate created in the previous procedure. Then, click “Update” button.
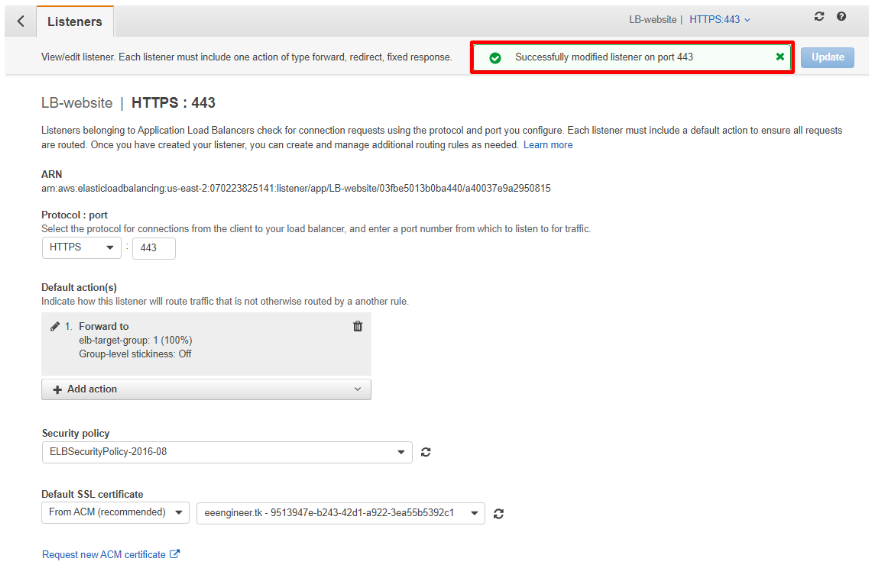
If you could create HTTPS listener, Successful message will be displayed as below.
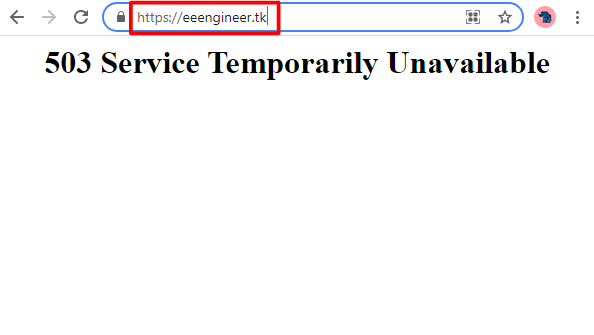
Every setting is completed. Please access your website by https protocol. ELB’s sorry page is displayed as below in my case, successfully!!
This is the end of part6. I hope you could access your web site with HTTPS protocol.
In my next article, let me explain how to create RDB with redundancy configuration. Please check it !!
If you think this article is beneficial for me, I would be glad if you click below icon for my motivation.
![]()

コメント