
First of all
In my previous article, I’ve explained how to create SSL Certificate and associate with your domain. In this article, let me explain how to create Redundant Database by AWS RDS.
System Requirement
- Web site can be accessed on the Internet with FQDN
- Redundant server configuration for incident recovery
- Manual switchover at the time of an incident.
- Can develop additional servers if the web access is increased
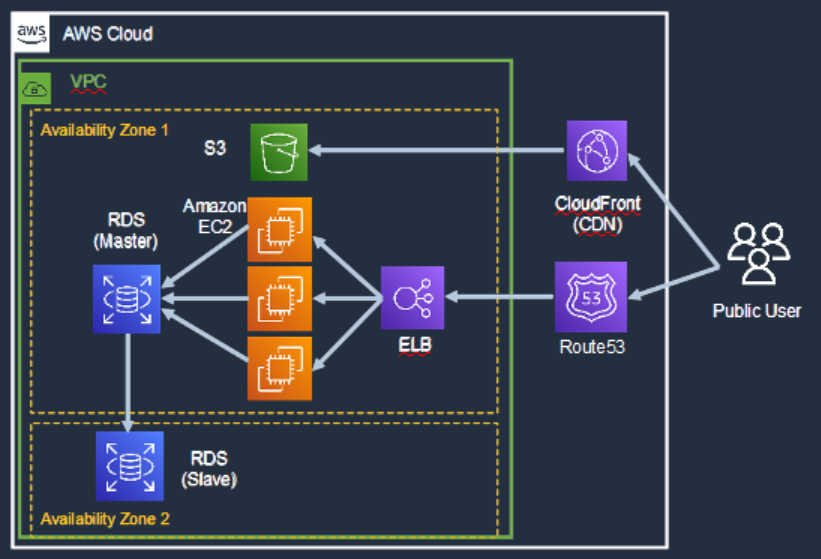
System Configuration
System Configuration diagram is as below. Public Users access EC2 instance through ELB, Elastic Load Balancer. And static contents are provided by S3 through CloudFront.
Create subnet for RDB
Firstly, please create subnet for RDB. In this case, two subnets need to be created for Redundant configuration of RDB.
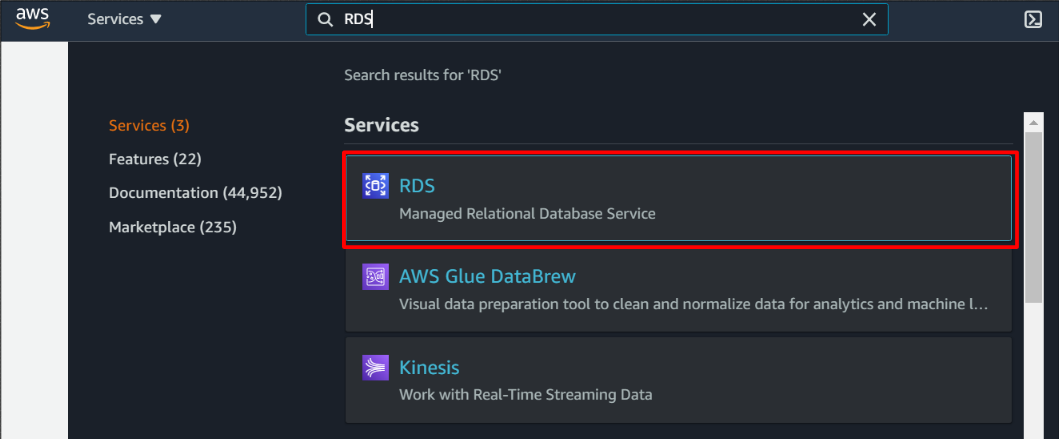
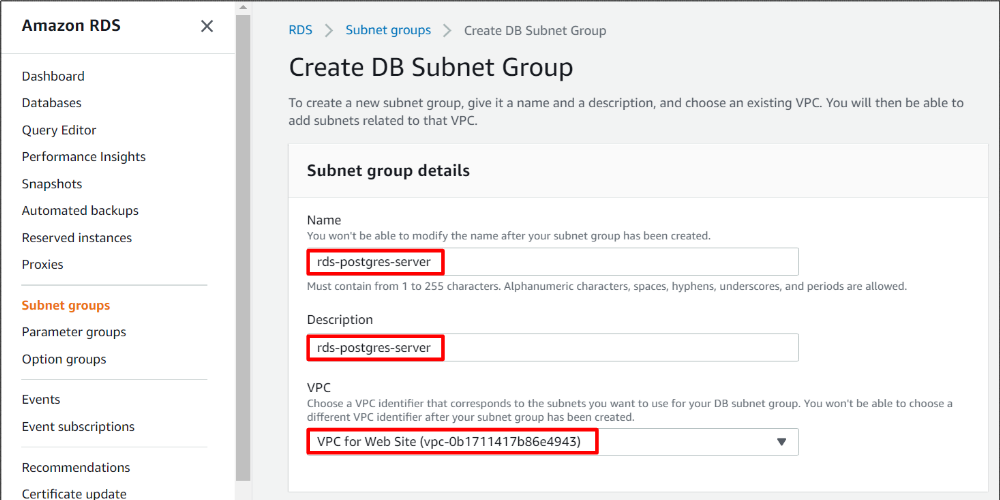
Access RDS in the management console.
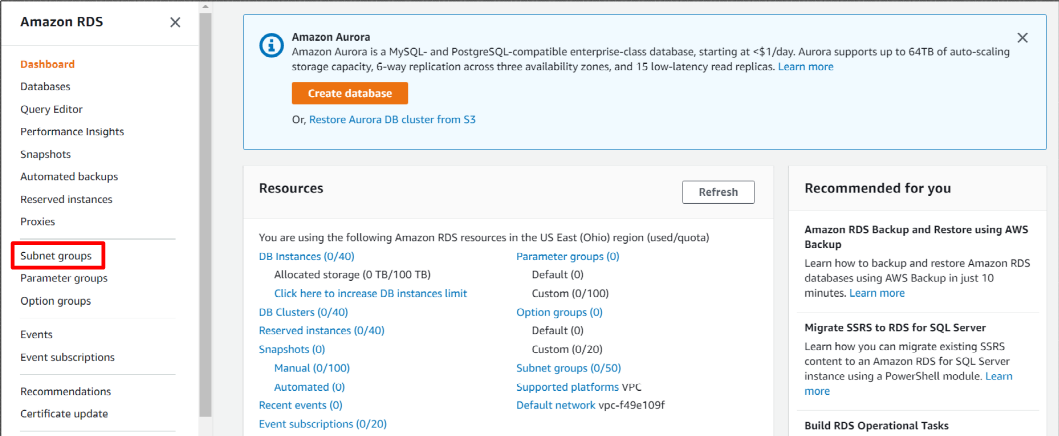
And, click “Subnet groups”.
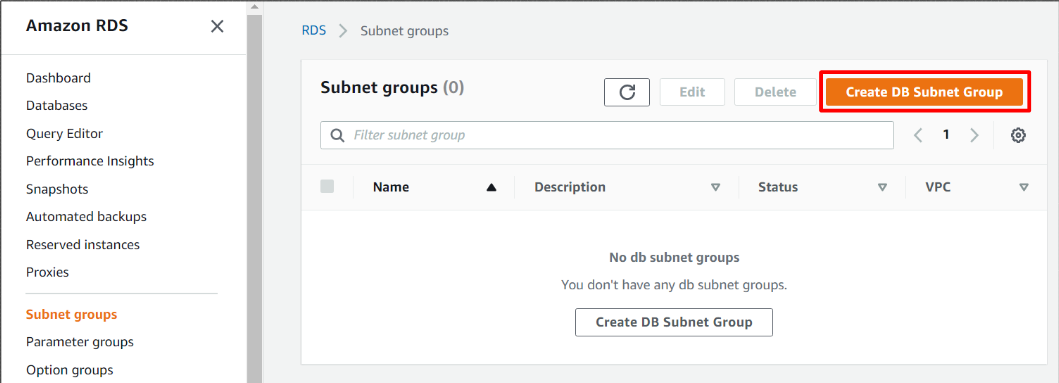
And, click “Create DB Subnet Group”.
Please input subnet group name and description as you like. Then, select target VPC. If you have not created VPCs, please create it in advance.
And, select two availability zones and two subnet at least. If you have no AZ or subnet, please prepare it in advance. Then, click “Create” button.
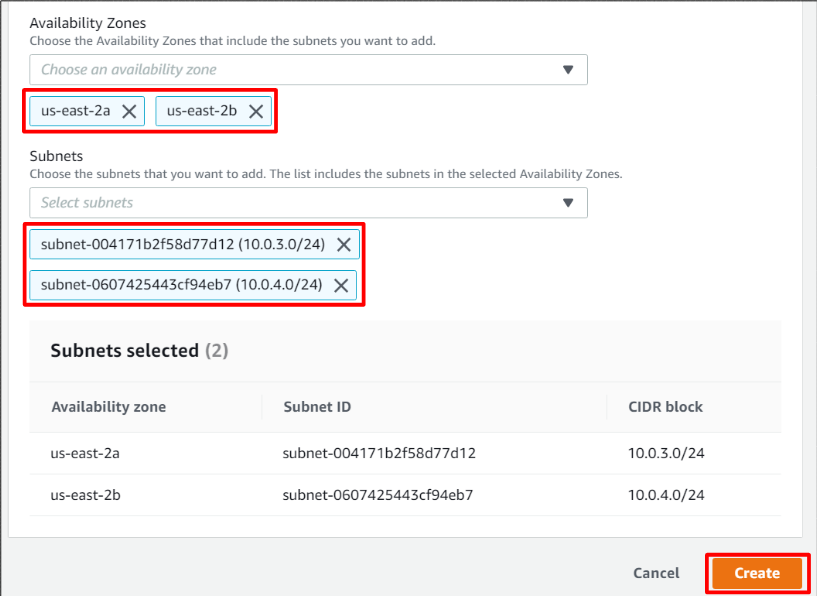
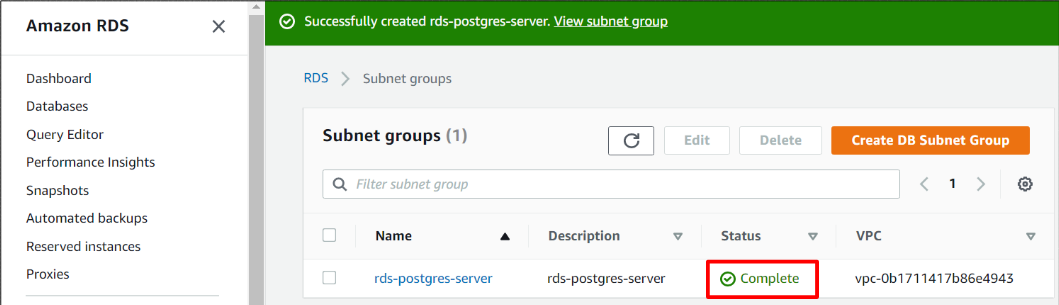
You can see that your sunbet is craeted successfully.
Access RDS in the management console.
And, click “Subnet groups”.
And, click “Create DB Subnet Group”.
Please input subnet group name and description as you like. Then, select target VPC. If you have not created VPCs, please create it in advance.
And, select two availability zones and two subnet at least. If you have no AZ or subnet, please prepare it in advance. Then, click “Create” button.
You can see that your sunbet is craeted successfully.
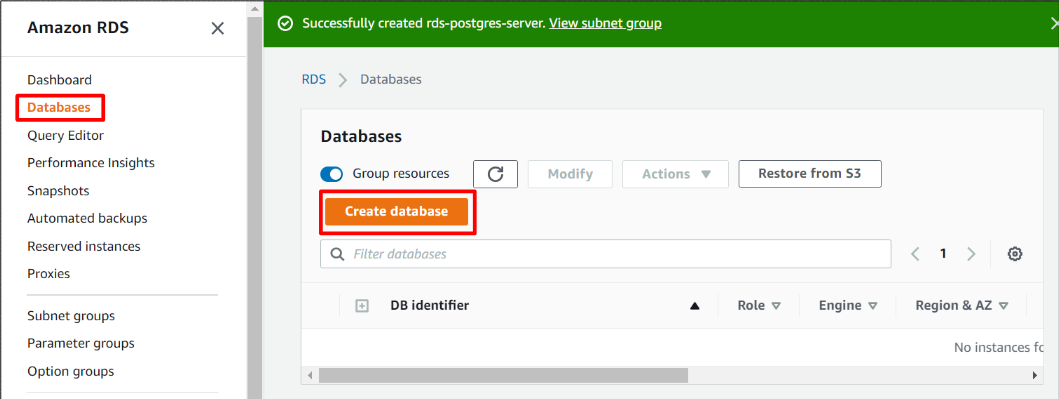
Create RDB
After preparing subnet for RDB, let’s create database. Click “Create database” button in Database tab.
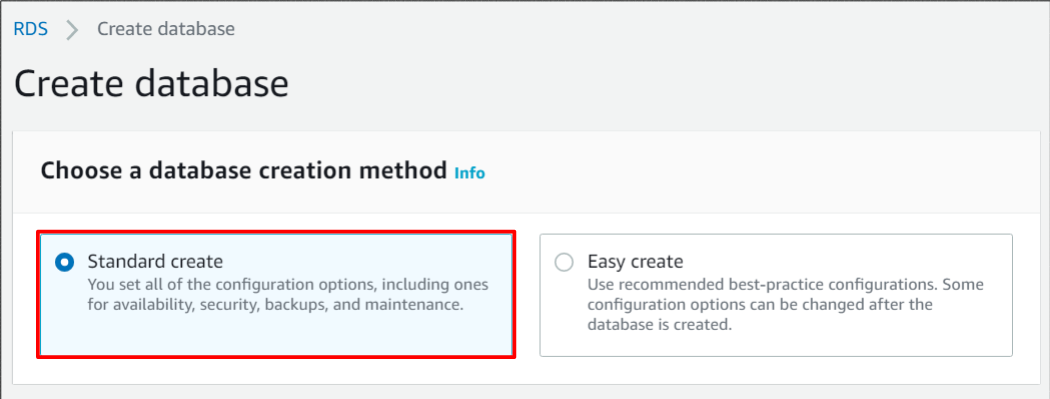
And, I selected Standard create option to customize database configuration on my own.
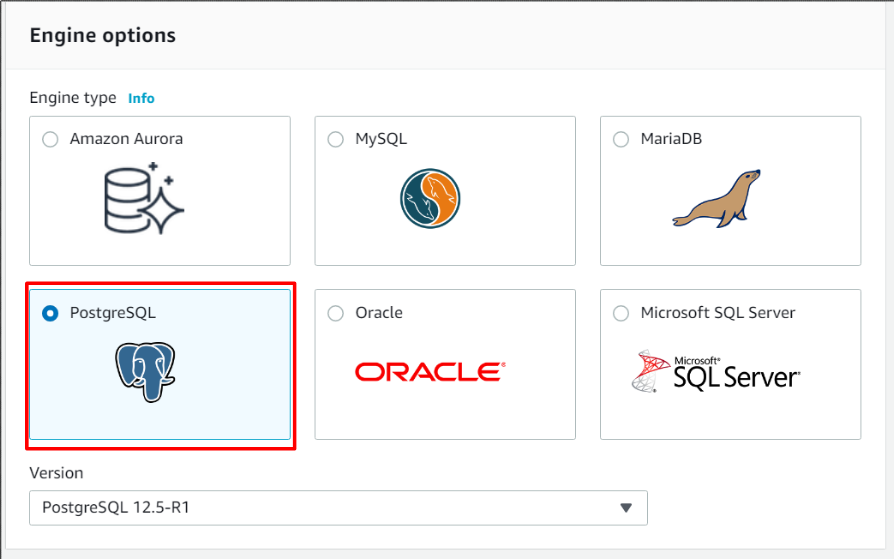
And, please select Engine options. I selected PostgreSQL for my website.
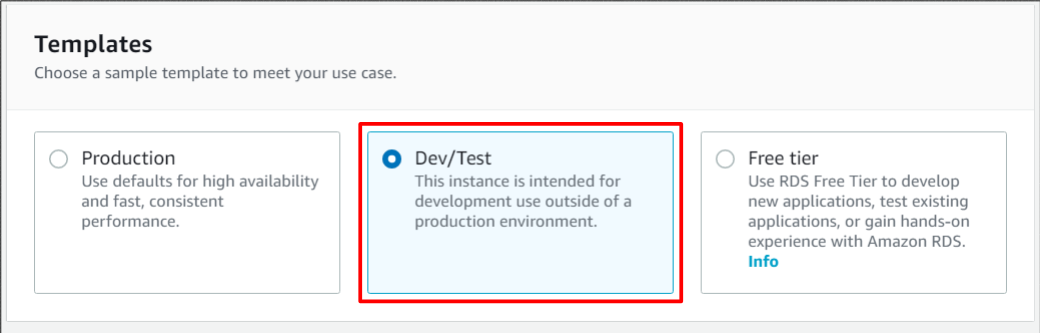
Next, select templates. I selected Dev/Test for this practice.
And, I selected Standard create option to customize database configuration on my own.
And, please select Engine options. I selected PostgreSQL for my website.
Next, select templates. I selected Dev/Test for this practice.
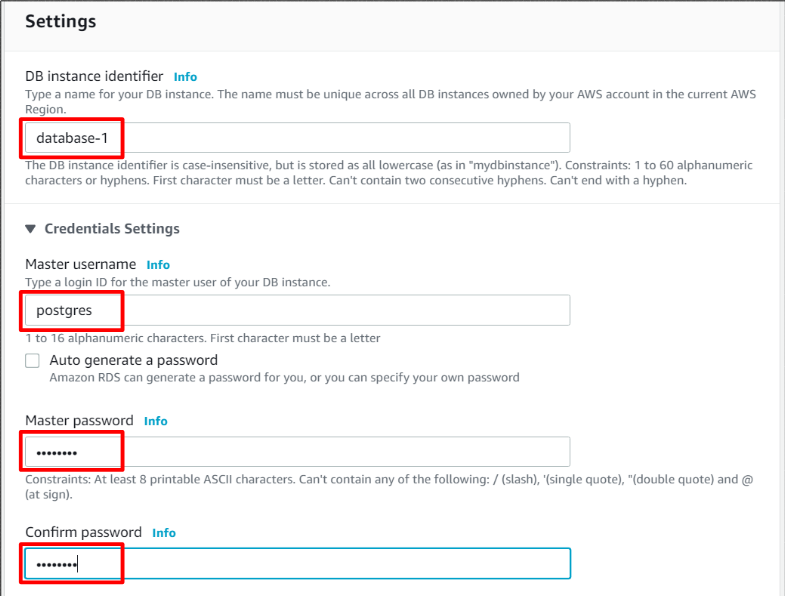
Next, input DB instance identifier as you like. And create Master user and set password for it.
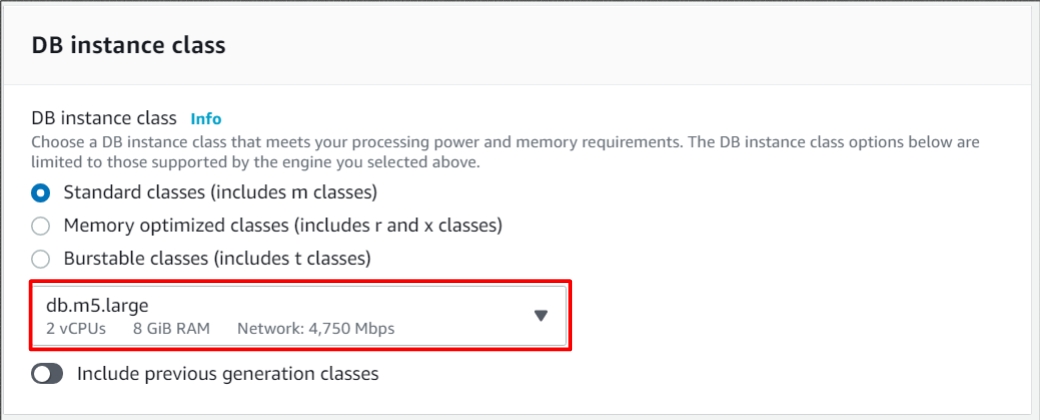
And, select DB instance class. I selected minimum class for my practice.
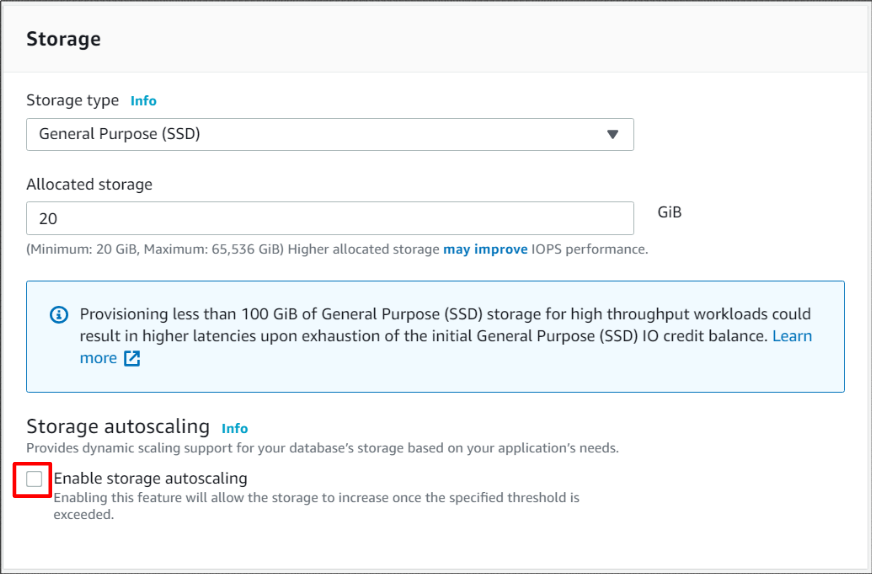
Then, change storage setting if necessary. I unchecked “Enable storage autoscaling” setting because I want to avoid unexpected cost surge.
And, select DB instance class. I selected minimum class for my practice.
Then, change storage setting if necessary. I unchecked “Enable storage autoscaling” setting because I want to avoid unexpected cost surge.
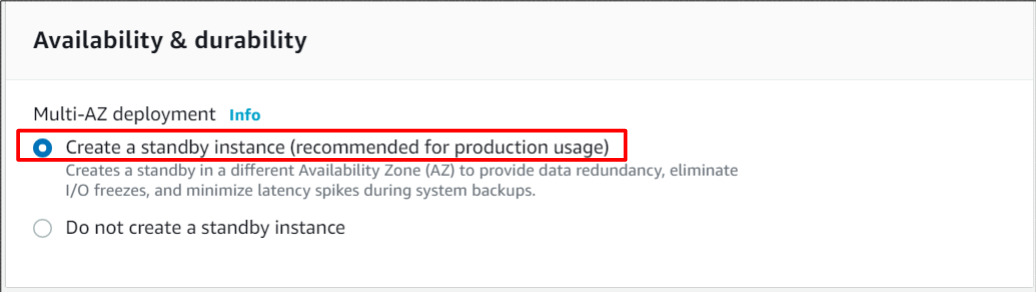
Next, I enabled Multi-AZ deployment for my redundant configuration.
And designate VPC and Subnet group you’ve created.

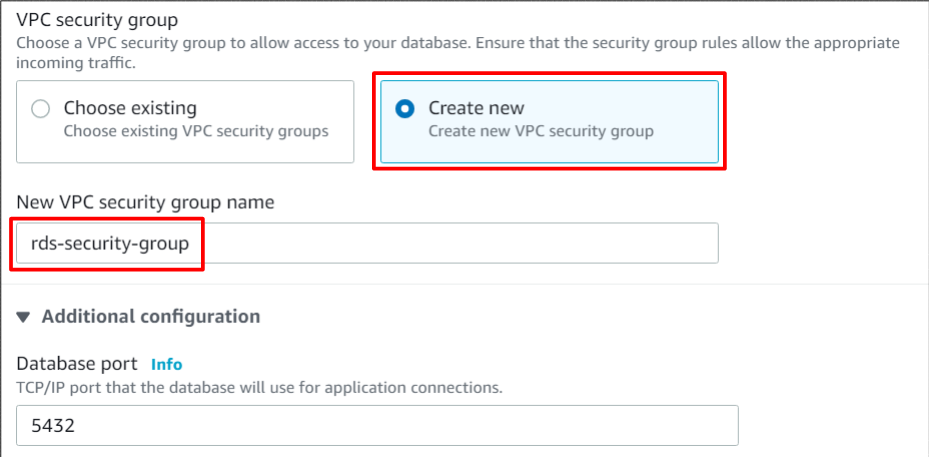
And, I created new security group for Database access. In postgreSQL, port 5432 needs to be allowed for Database access.
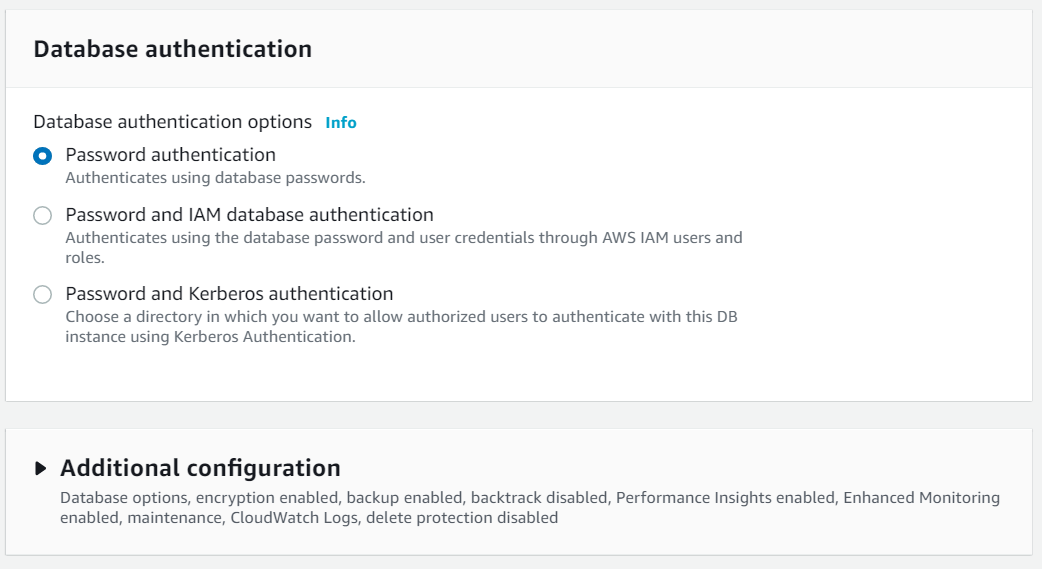
Next, I selected “Password authentication” because it is relatively simple authentication. If you create RDS for your production environment, please consider which authentication method is appropriate.
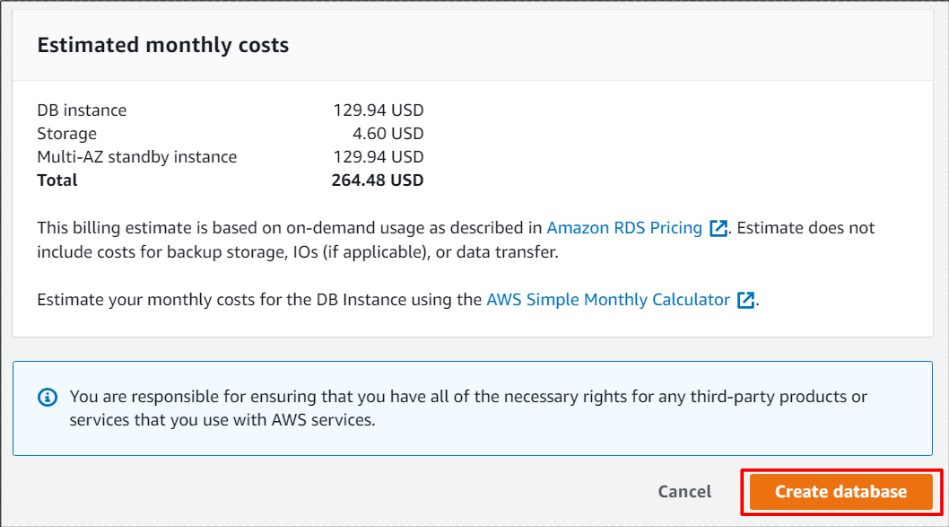
After checking estimated monthly costs, please click “Create database”.
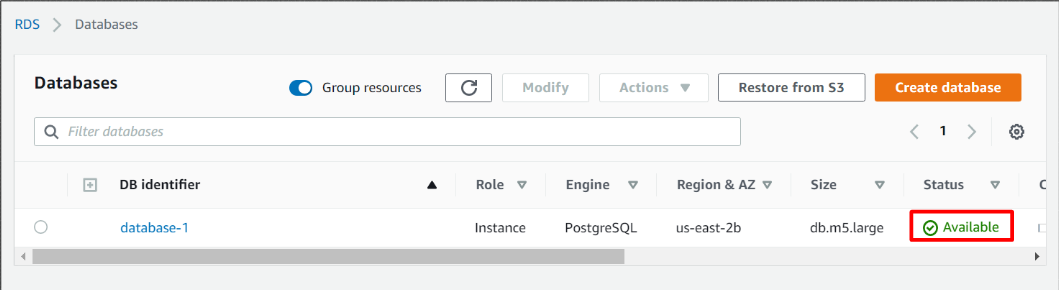
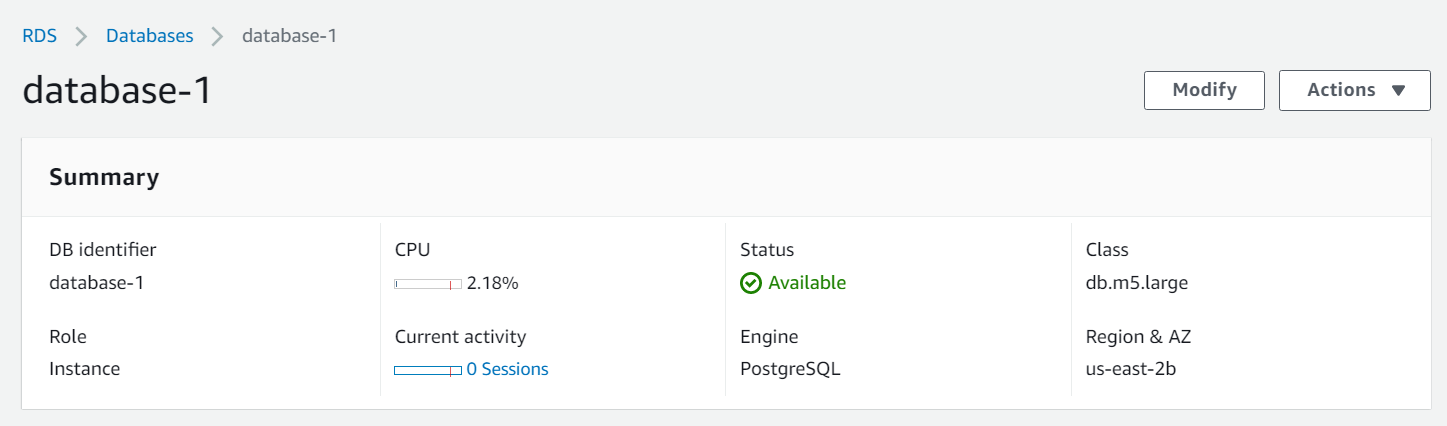
In several minutes, RDS will be created and status become Available as below.
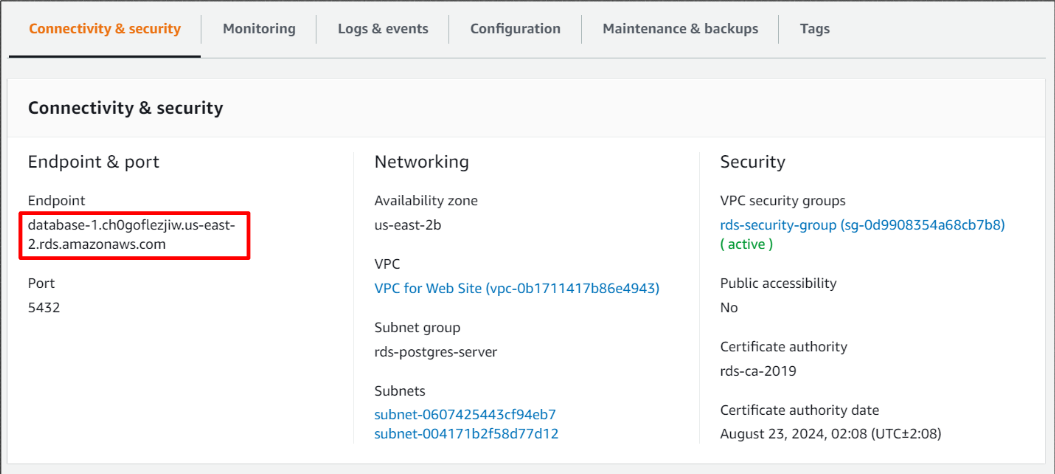
In “connectivity & security” tab, Endpoint is displayed. You can access database by designating this Endpoint.
I accessed postgres database by my EC2 instance by designating endpoint. Database login is succeeded !!

And designate VPC and Subnet group you’ve created.
And, I created new security group for Database access. In postgreSQL, port 5432 needs to be allowed for Database access.
Next, I selected “Password authentication” because it is relatively simple authentication. If you create RDS for your production environment, please consider which authentication method is appropriate.
After checking estimated monthly costs, please click “Create database”.
In several minutes, RDS will be created and status become Available as below.
In “connectivity & security” tab, Endpoint is displayed. You can access database by designating this Endpoint.
I accessed postgres database by my EC2 instance by designating endpoint. Database login is succeeded !!
Finally
This is the end of part7. I hope you could create RDB with redundancy configuration. In my next article, let me explain how to utilize cloudFront. Please check it !!
If you think this article is beneficial for me, I would be glad if you click below icon for my motivation.
![]()

コメント