In my previous article, I’ve explained how to create subnet for redundant configuration. In this article, I want to introduce how to replicate EC2 instance.
- Web site can be accessed on the Internet with FQDN
- Redundant server configuration for incident recovery
- Manual switchover at the time of an incident.
- Can develop additional servers if the web access is increased
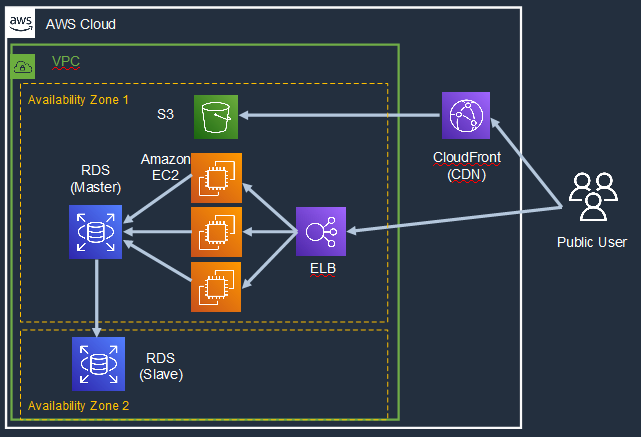
System Configuration diagram is as below. Public Users access EC2 instance through ELB, Elastic Load Balancer. And static contents are provided by S3 through CloudFront.
Firstly, duplicate your EC2 instance by utilizing AMI image. If you have not created it yet, please develop it by referring my previous article.
https://eeengineer.com/aws-how-to-develop-temporary-web-system-part1-vpn-creation/
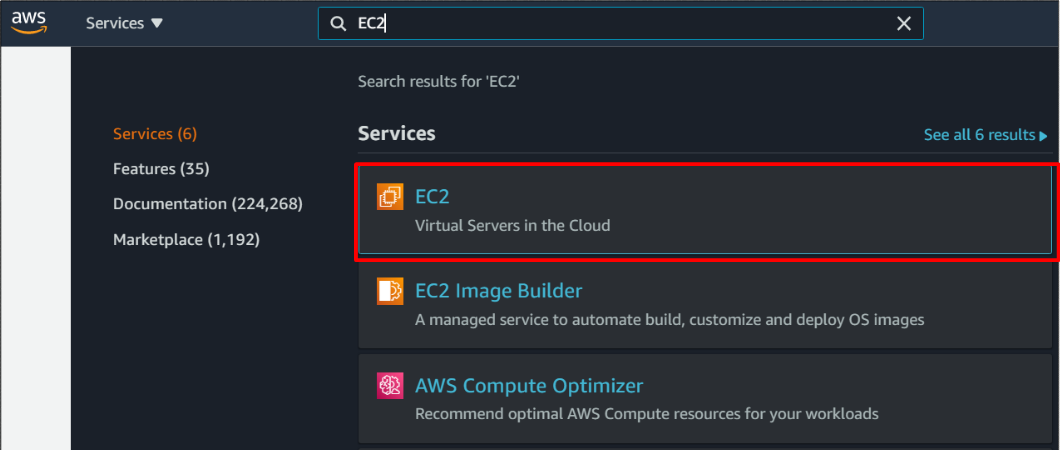
Access EC2 console.
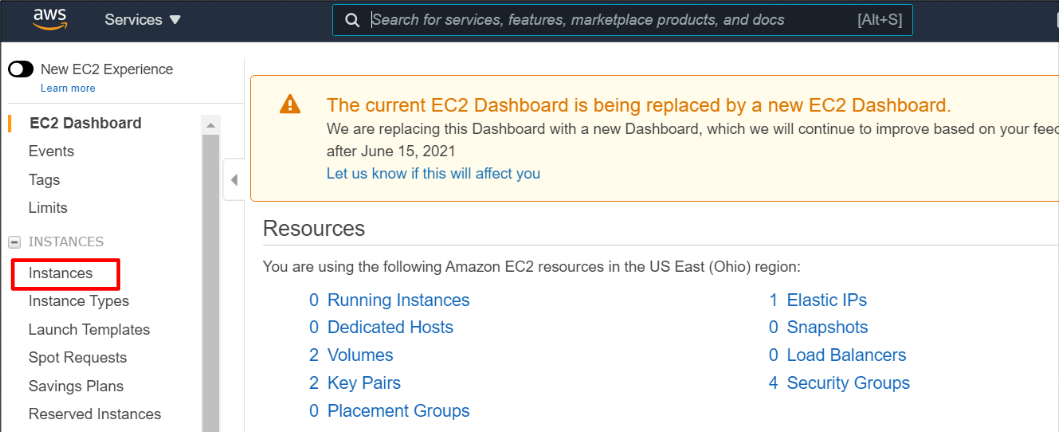
And click “Instances” button.
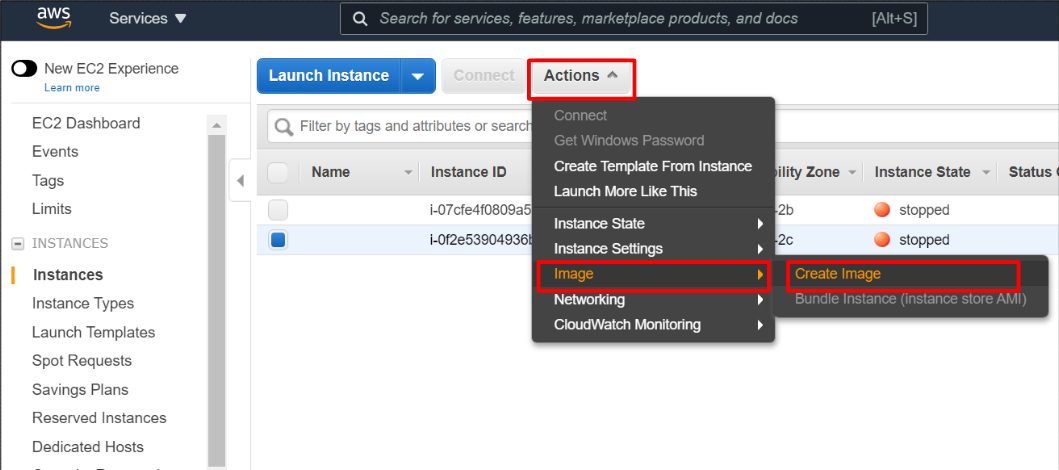
Select replication target EC2 instance, and click “Create Image” button as below.
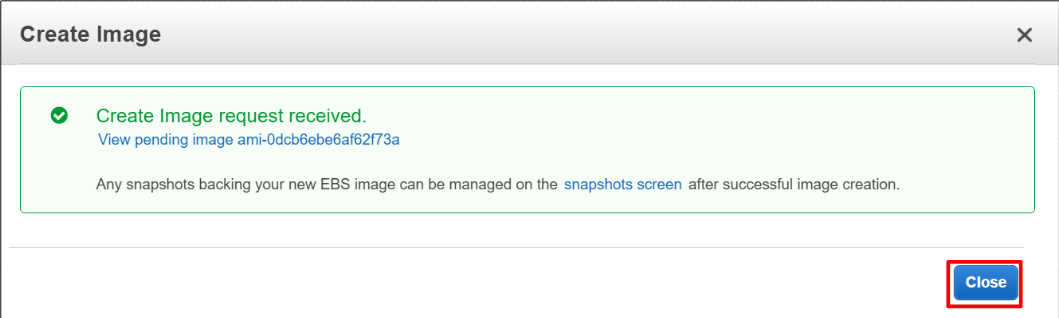
Input Image name and Image description and click “Create Image”.

“Create Image request received” message will be shown.
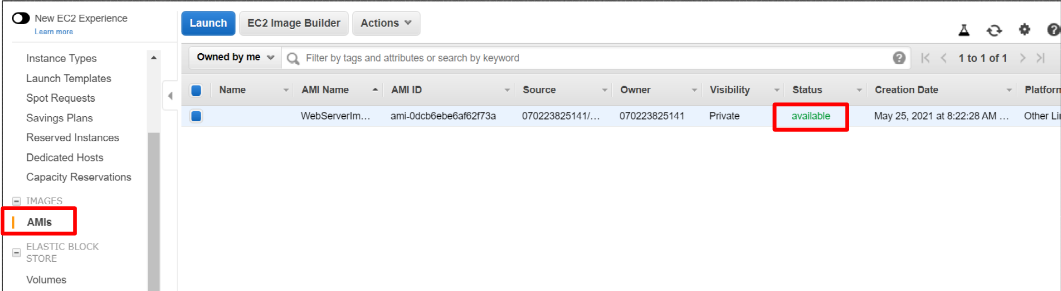
And, click AMIs button. You can see available status if your EC2 Image is created successfully.
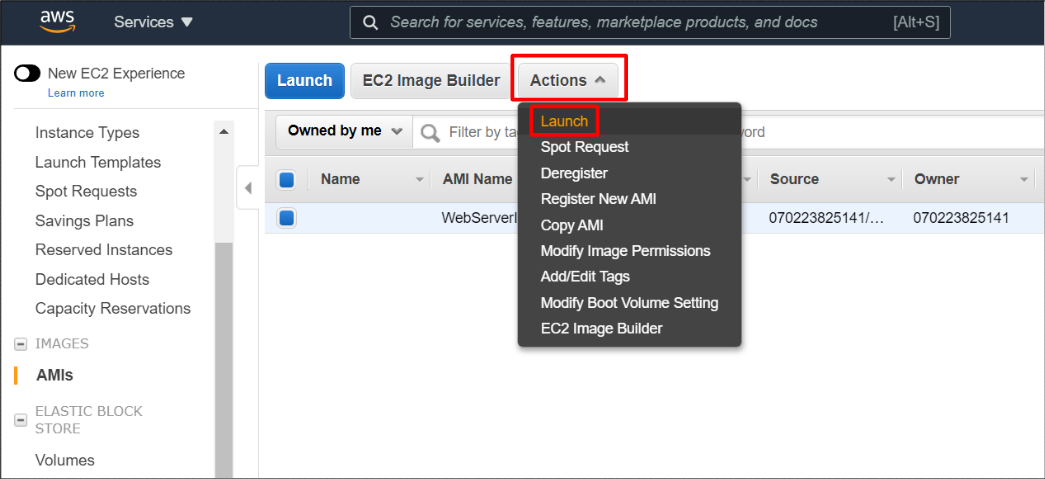
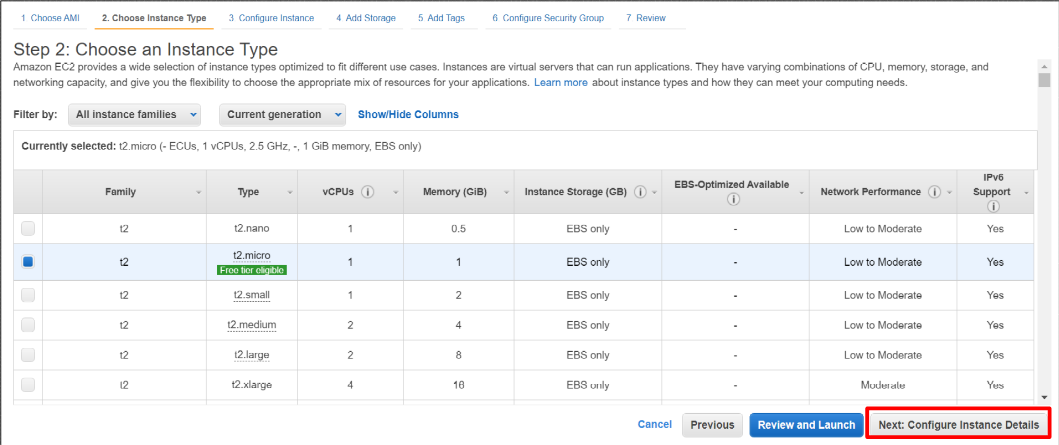
Next, let’s create EC2 instance by the AMI image you created. In the Actions tab, click “Launch” button.
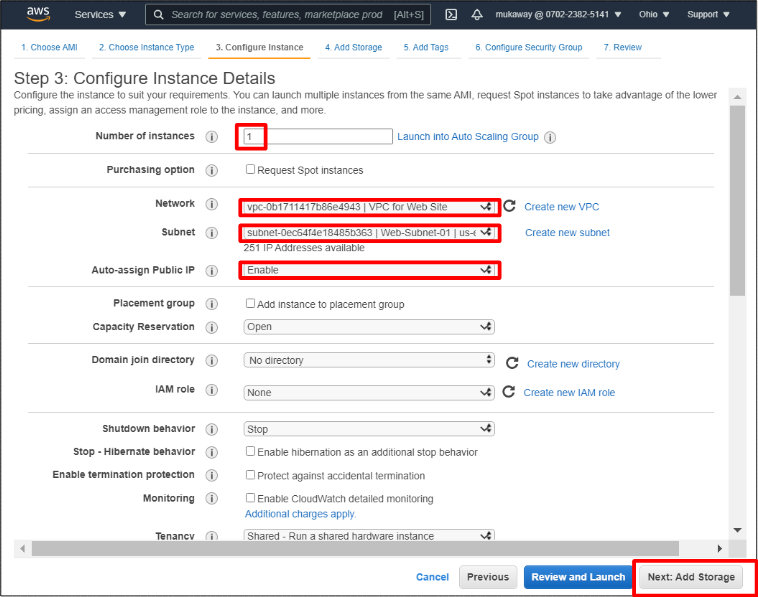
And click “Next: Configure Instance Details”.
In this time, I’ve created two instances. Input “2” in the Number of instances. And, assign your private network. Then, Enable Auto-assign Public IP to access the EC2 server by ssh from the Internet.
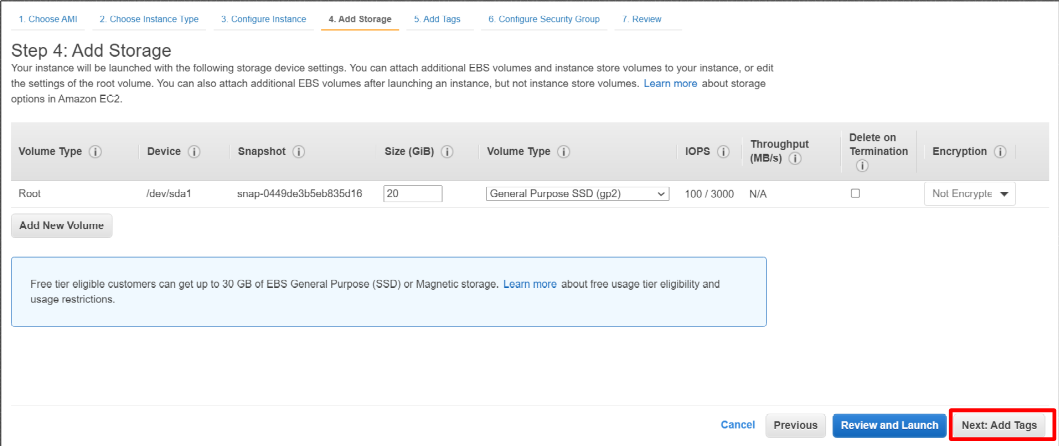
 If you want to increase size of storage, you can modify it in below setting screen.
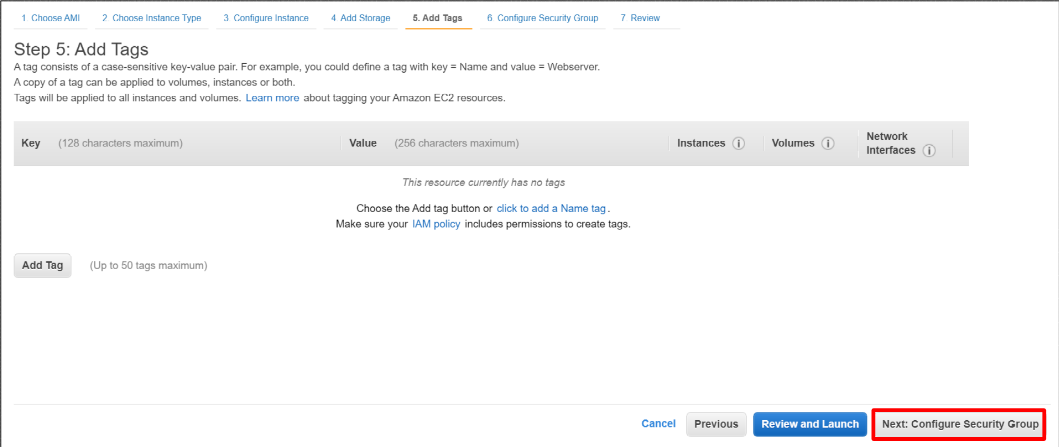
And, you can also create tab for the EC2 instance.
You can set security group. In this time, I’ve created new security group. Of course, you can assign existing security group.
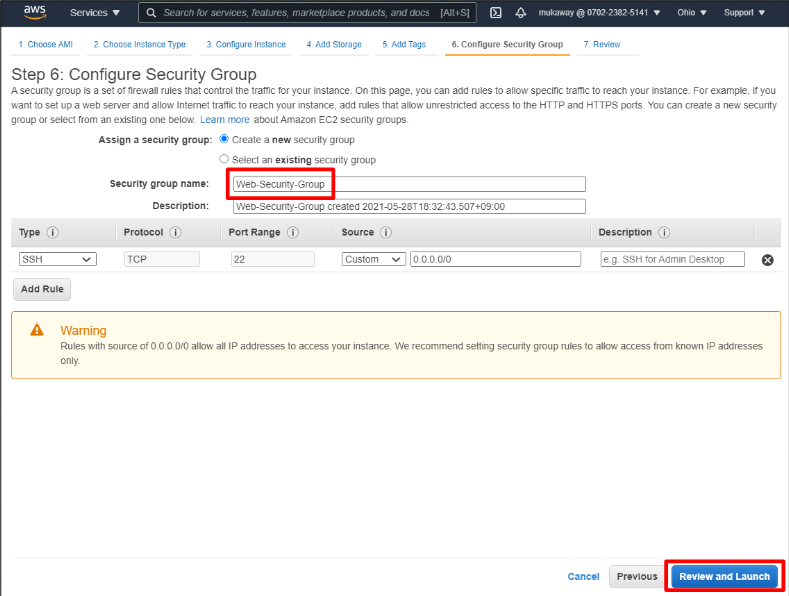
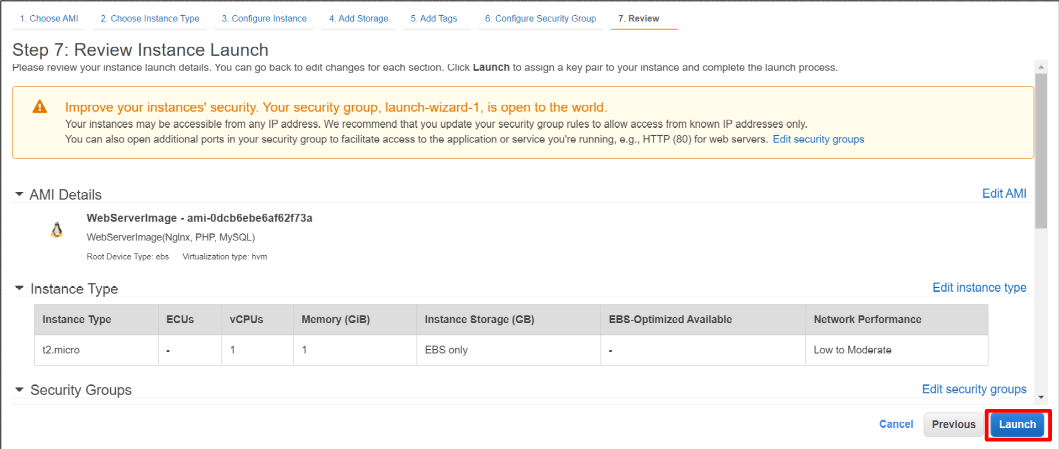
After reviewing your setting, click “Launch” button.
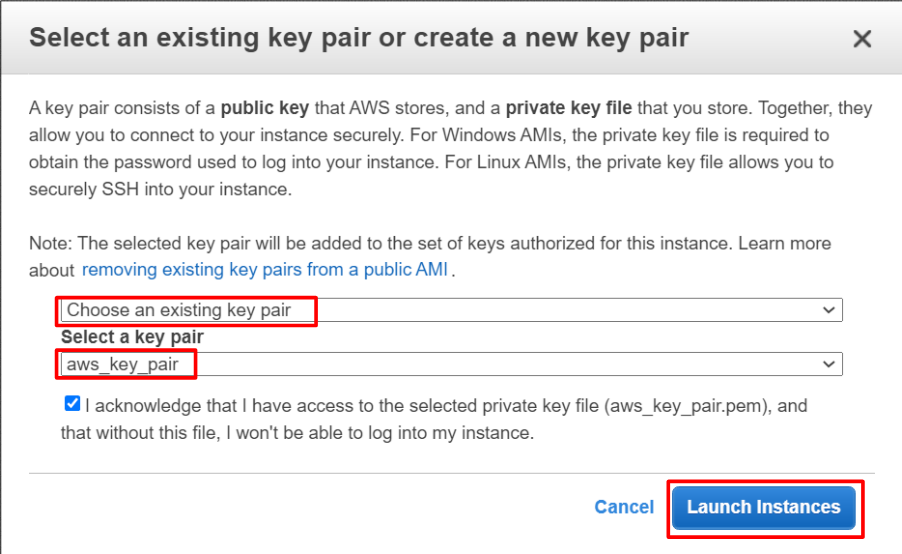
And, you need to assign key pair for SSH access. In this time, I designated existing key pair to my EC2 instance and click “Launch Instances” button.
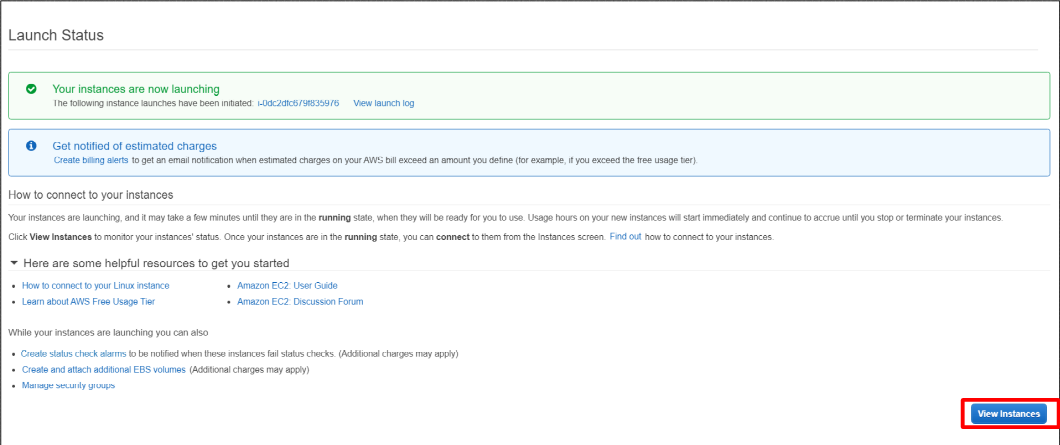
Launch Status screen is displayed. Click “View Instances” button
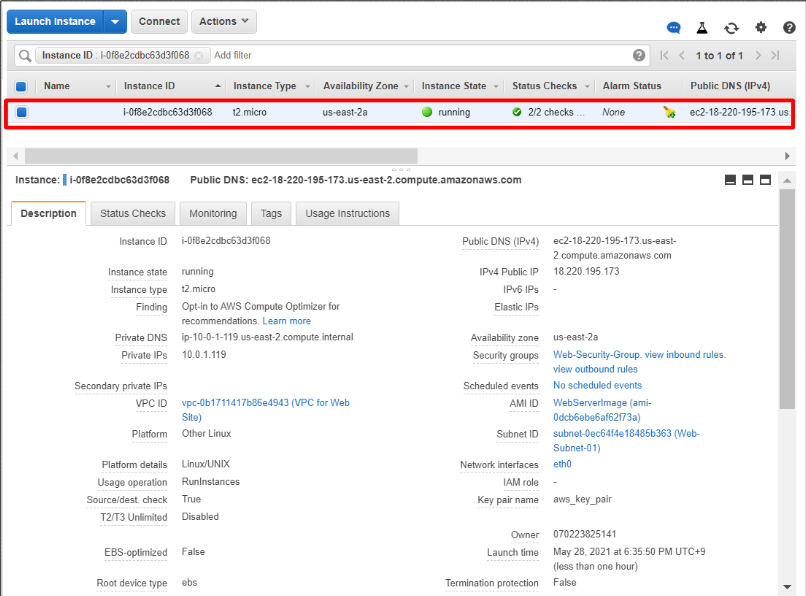
After a few minutes, “Instance Status” becomes running. This means EC2 preparation has been completed successfully !!
Next, please create one more EC2 instance in the different subnet as same as previous procedure.

OK. Two instances are created successfully by AMI image !!

コメント