
In my last article, I’ve introduced how to install nginx and PHP to EC2 instance. In this article, let’s install MySQL.
- Web site can be accessed on the Internet with FQDN
- Basic LAMP environment (Linux, Nginx, PHP, MySQL)
- No redundant configuration and backup
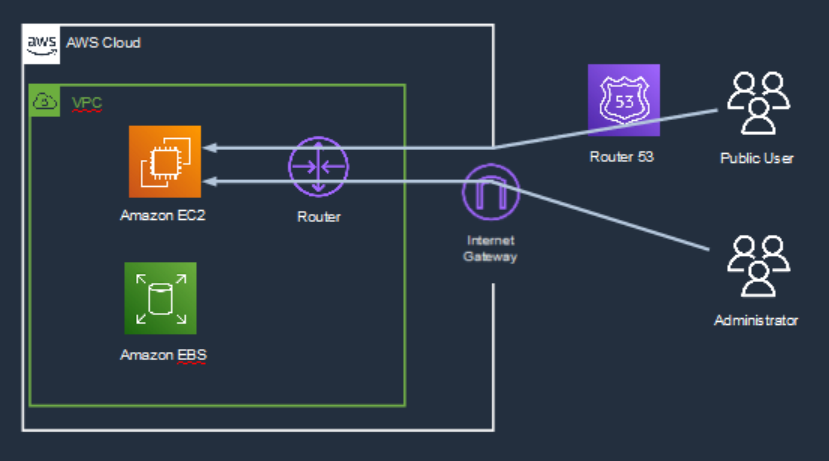
System Configuration diagram is as below. Public Users access Web site through Route53 with FQDN. On the other hand, Administrator access to Web site via Internet Gateway.
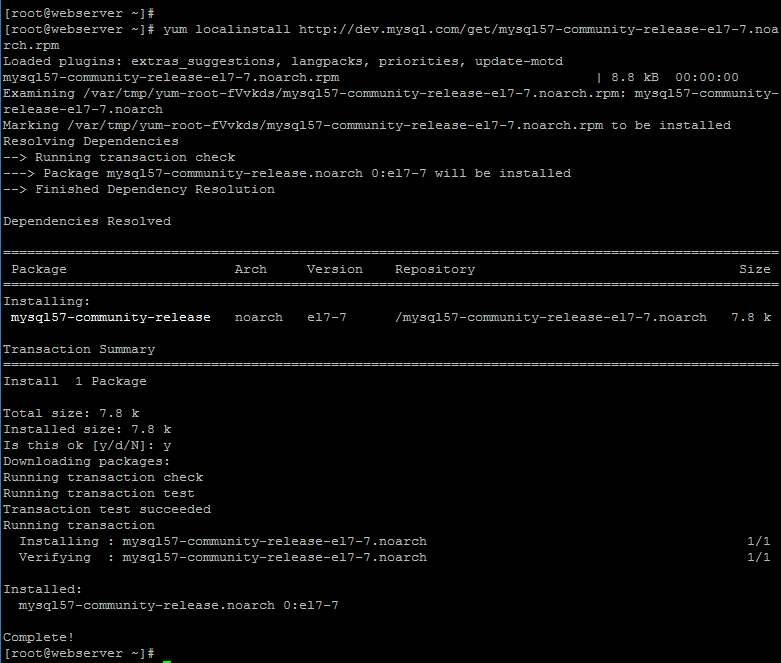
Firstly, access to EC2 instance and becomes root user. And, install repository for MySQL.
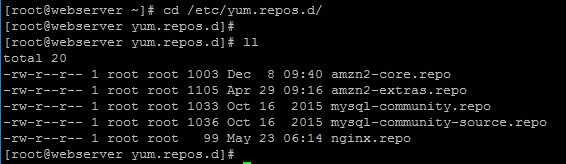
Check if there are repositories for mysql, mysql-community.repo and mysql-community-source.repo.
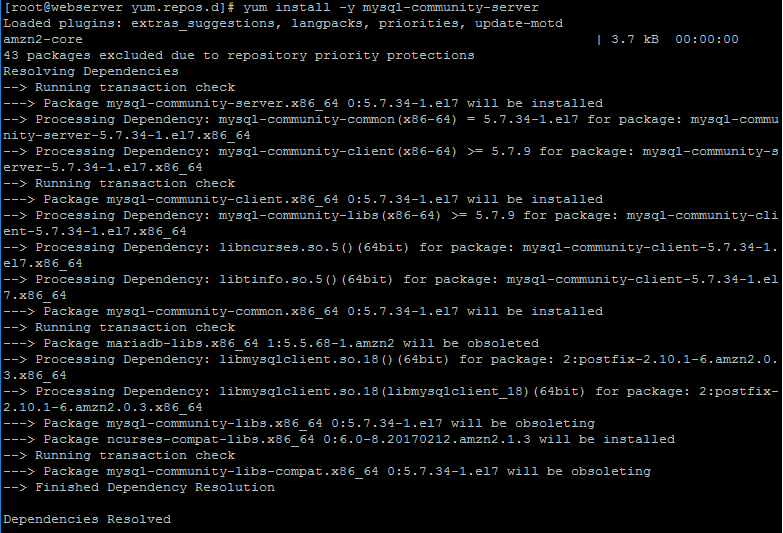
Next, install “mysql-community-server” by yum command.
~~
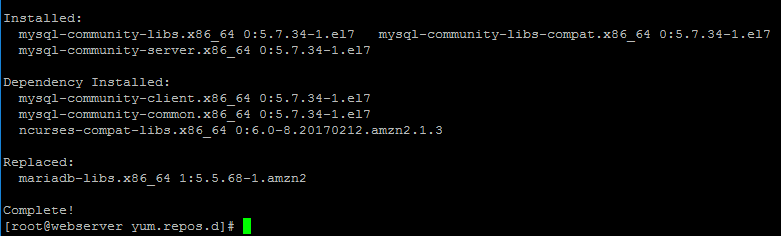 If “Complete!” message is displayed, it may be installed successfully.
But, please check if mysql is installed properly by the below command.

It’s OK !!
Next, enable auto start setting by below command.
![]()
Then, start mysql and check its status.
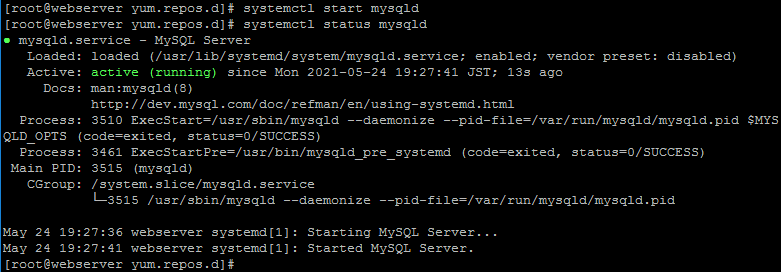
OK, MysSQL server is successfully started.
Next, check the password of MySQL. In MySQL, default root password is set at random.

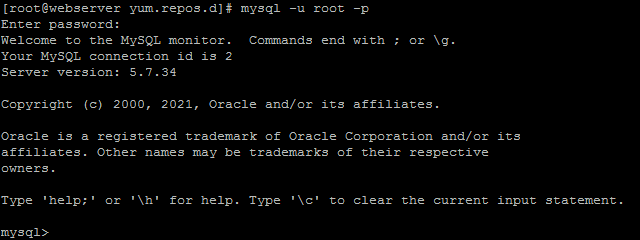
And, access mysql server and input password that you checked.
If “mysql>” is displayed, you successfully log in to MySQL database.
If you want, you can change MySQL login password as below.

In this chapter, I do not explain how to use MySQL database because it depends on your application. But we’ve prepared to use it for now.

コメント