
In my previous article, I’ve explained how to create subnet and EC2 instance for redundant configuration. In this article, I want to introduce how to create ELB.
- Web site can be accessed on the Internet with FQDN
- Redundant server configuration for incident recovery
- Manual switchover at the time of an incident.
- Can develop additional servers if the web access is increased
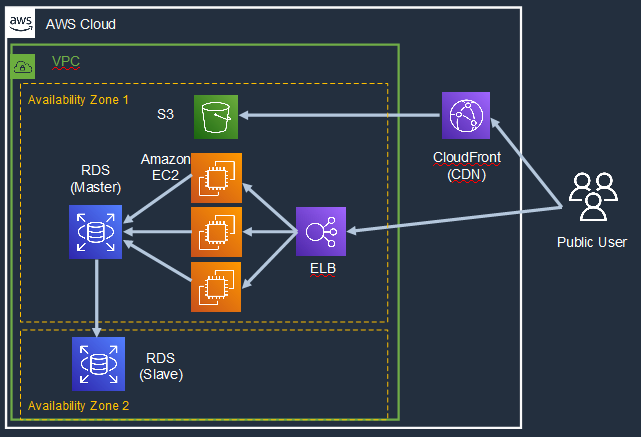
System Configuration diagram is as below. Public Users access EC2 instance through ELB, Elastic Load Balancer. And static contents are provided by S3 through CloudFront.
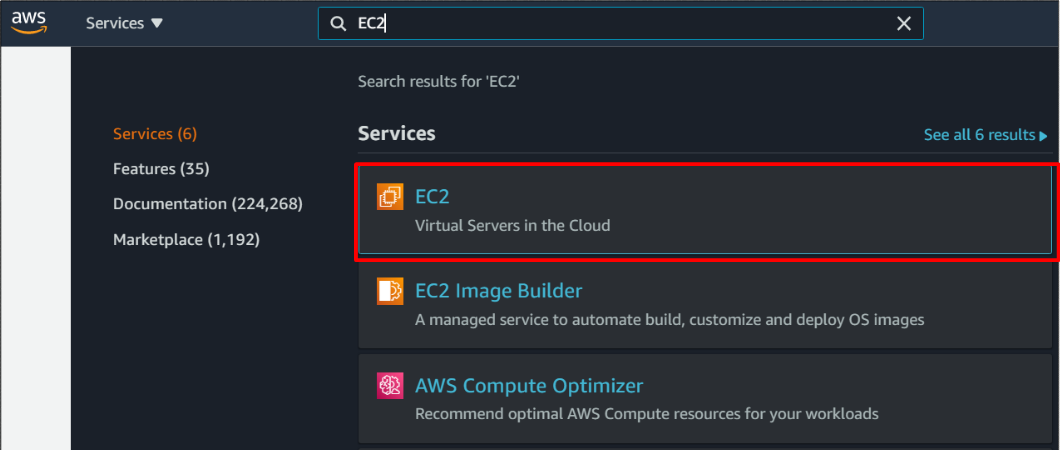
Firstly, access EC2 management console.
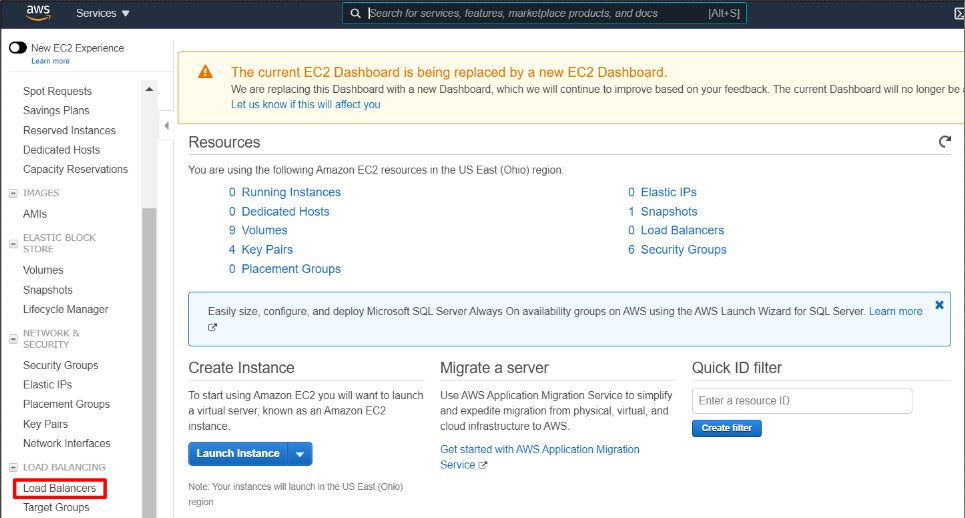
And, click “Load Balancers”.
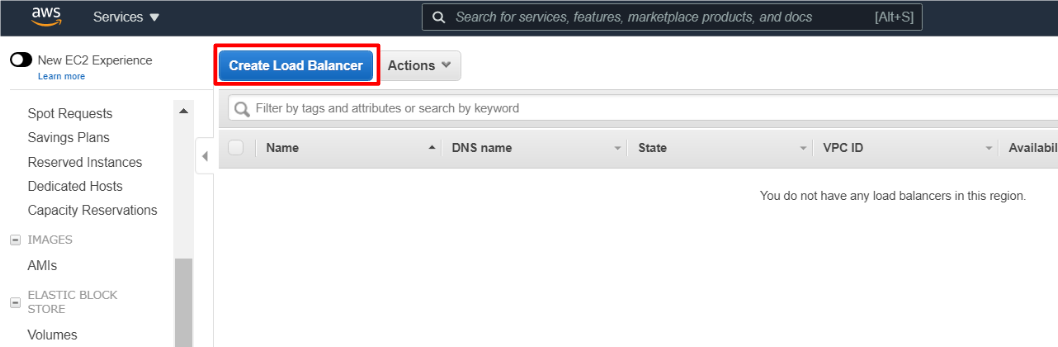
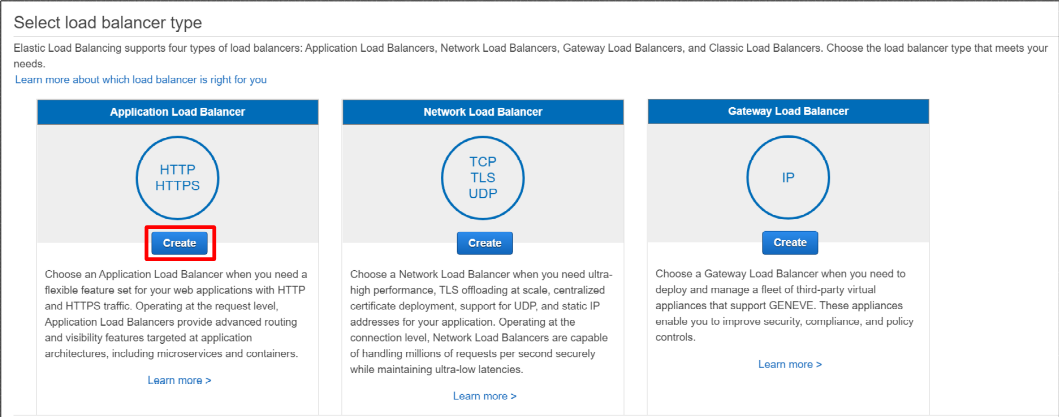
And click “Create Load Balancer” button.
This time, I selected ALB, Application Load Balancer because our web site is accessed by HTTP or HTTPS protocol.
And, input LB name as you like.
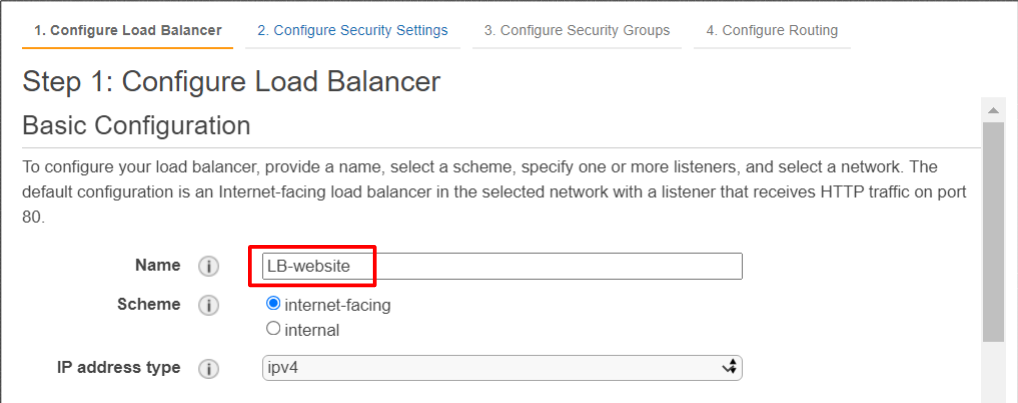
Then, designate VPC you prepared. In this case, two availability zones are selected as below. So load balancing will be executed between two availability zone. Then, click “Next: Configure Security Settings.”

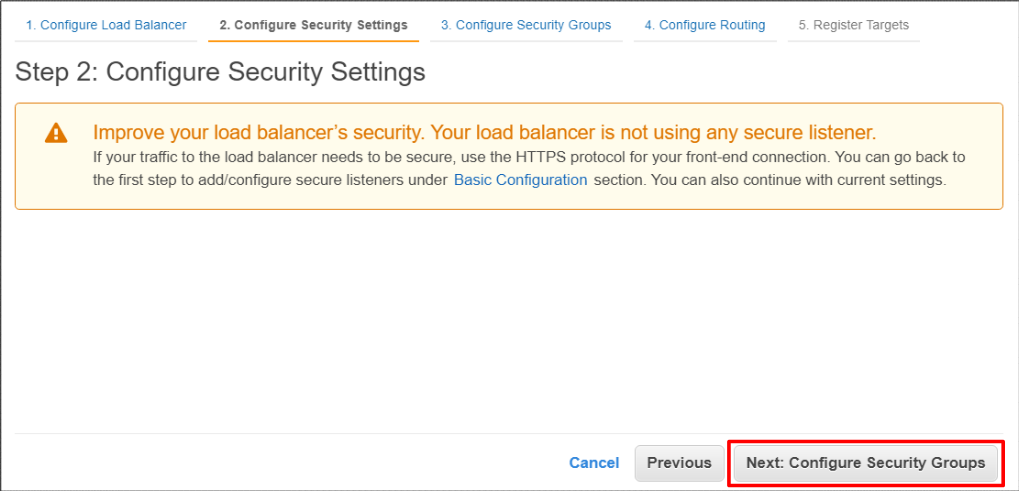
Then, click “Next: Configure Security Groups.”
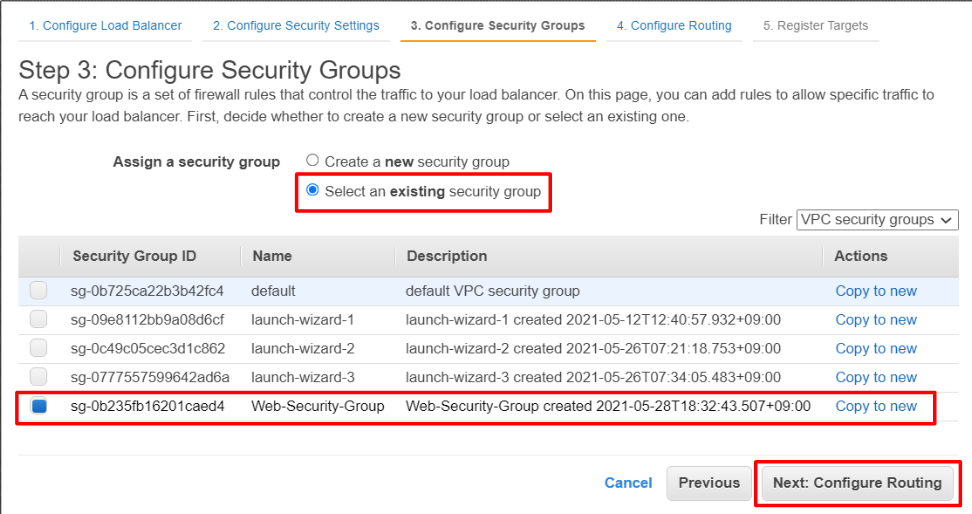
This time, I selected existing security group with HTTP and SSH access from the Internet. Then, click “Next: Configure Routing”
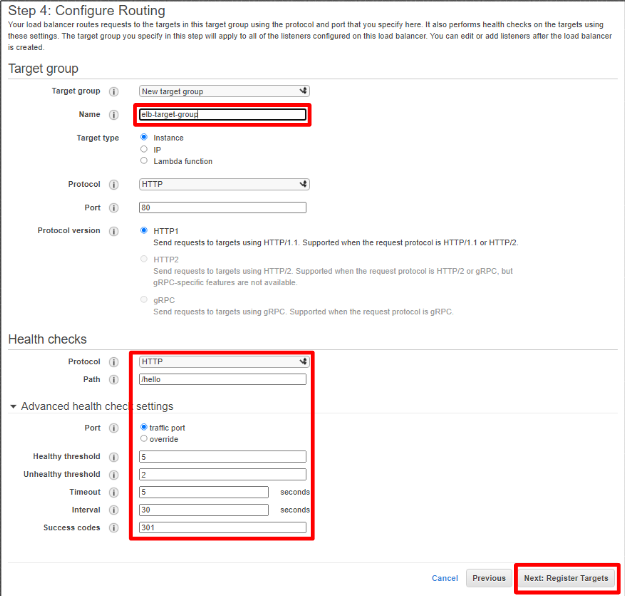
And, input target group name as below. In my environment, Protocol is HTTP and port number is 80. Please change it and Health Checks setting according to your environment. Then, click “Next: Register Targets”.
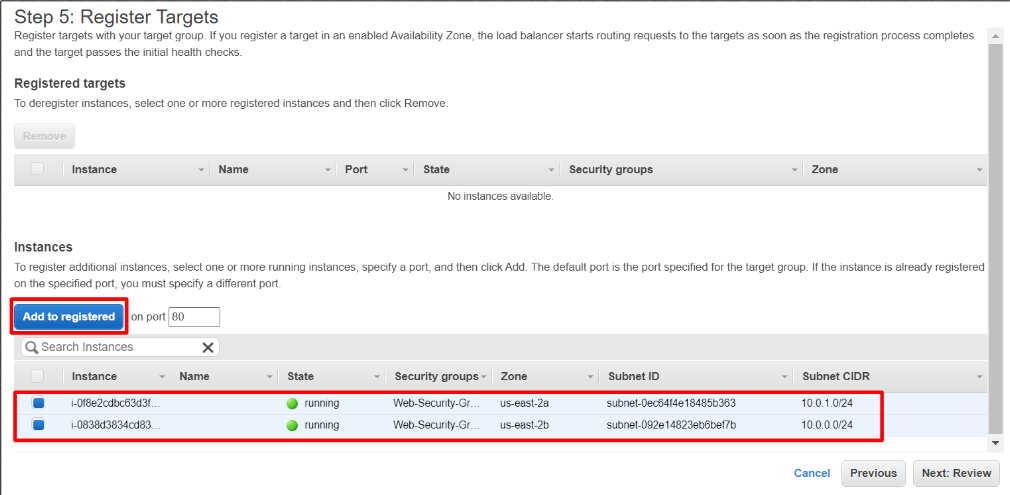
Next, set distribute target as below. I’ve added two EC2 instances by clicking “Add to registered” button.
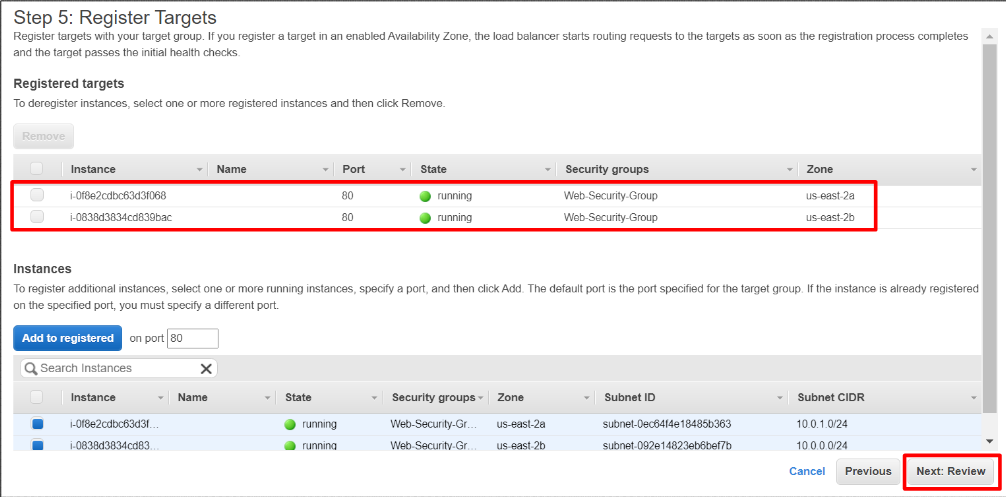
After your EC2 instances are added to “Registered targets”, click “Next: Review” button.
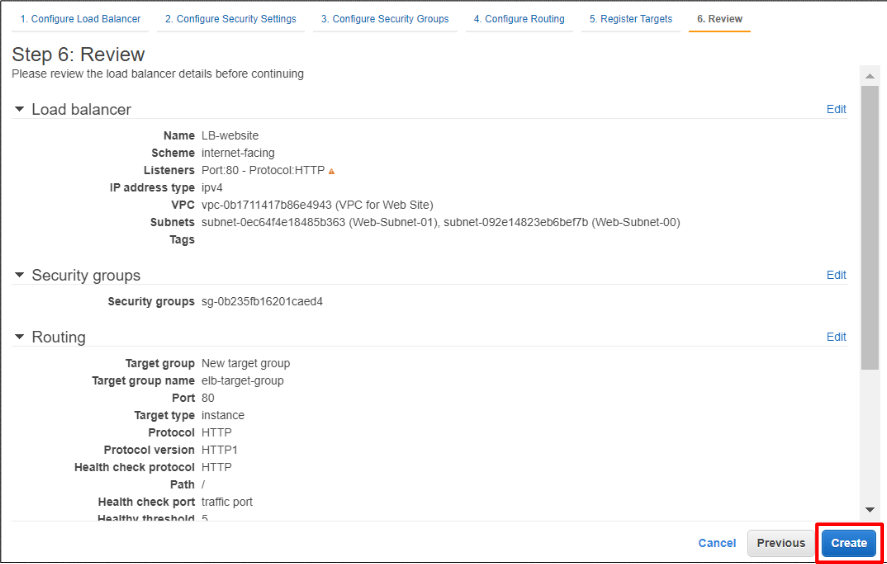
Finally, review your ELB setting and click “Create” button.
If ELB is created, “Successfully created load balancer” message is displayed. Then, click “close” button.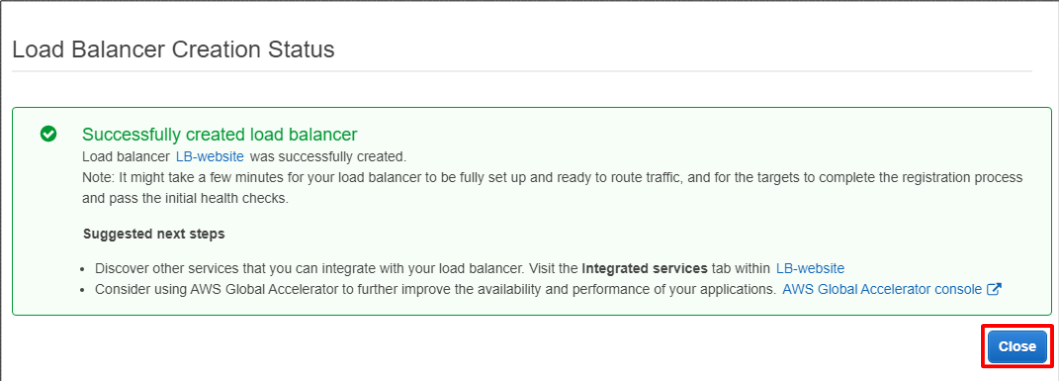
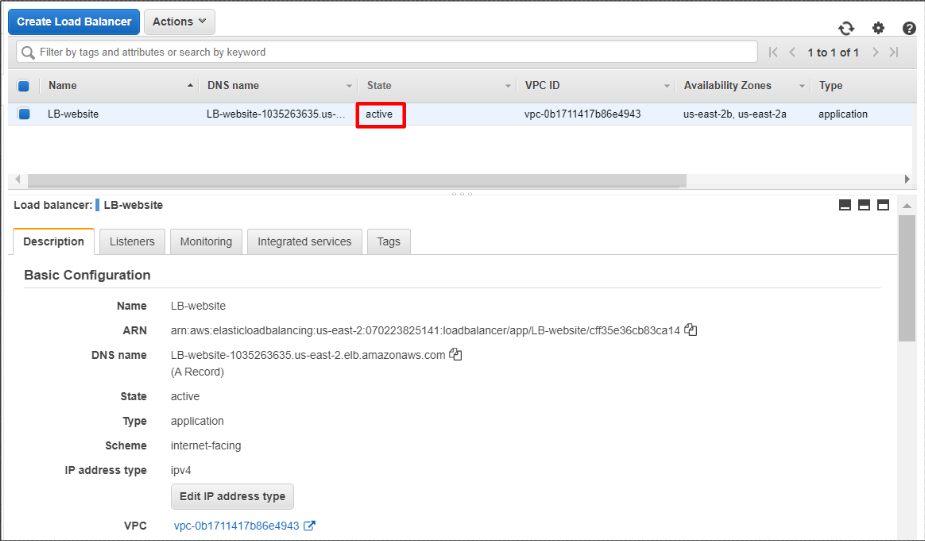
If the status is active, LB is running successfully.
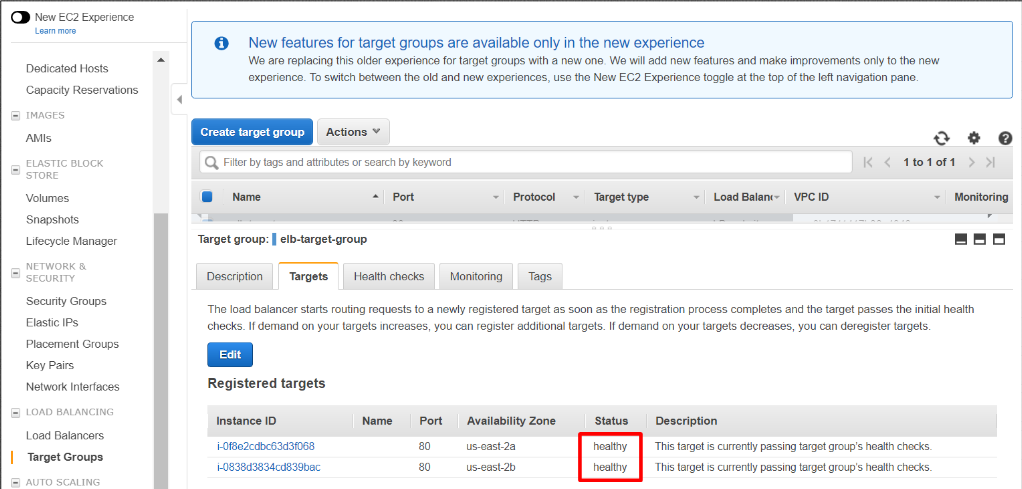
By clicking the “Target Groups”, you can see health check status of your EC2 instances. If you can see that Status is healthy, there is no problem.
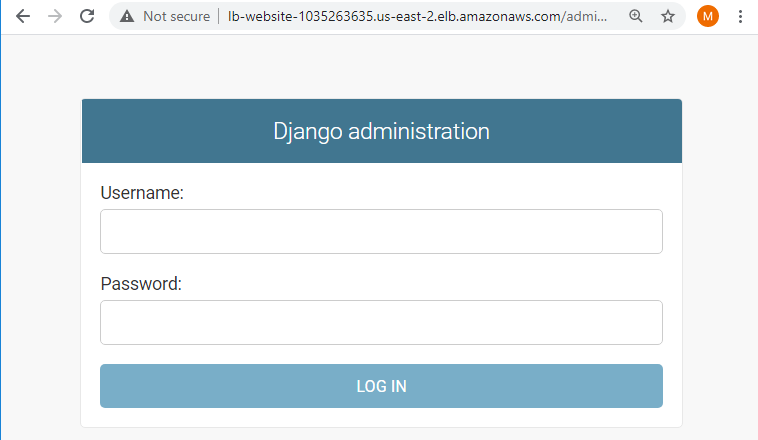
Finally, access your web site via ELB with its DNS name. I hope you can see your website screen.
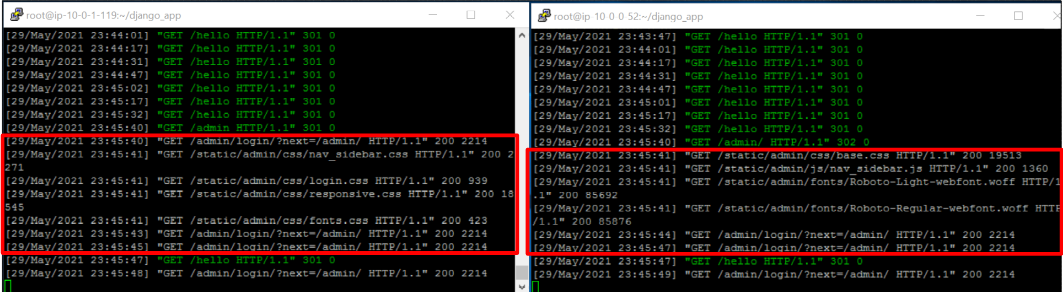
Just to be safe, please check access log and whether web accesses are distributed to both EC2 servers by accessing website several times. You can see access log on both EC2 servers as below, for example.

コメント